Python manim 库

manim

执行文件

manim yourfile.py [className] [-params]

One can also specify the render quality by using the flags -ql, -qm, -qh, or -qk, for low, medium, high, and 4k quality, respectively.

flagabbrfunction
--help-hShow the help message and exit
--output_file OUTPUT_FILE-o OUTPUT_FILESpecify the name of the output file
--preview-pAutomatically open the saved file once its done
--show_in_file_browser-fShow the output file in the File Browser
--write_all-aWrite all the scenes from a file
--save_last_frame-sSave the last frame only (no movie file is generated)
--save_pngs-gSave each frame as a png
--save_as_gif-iSave the video as gif
--background_color BACKGROUND_COLOR-c BACKGROUND_COLORSpecify background color
--dry_runDo a dry run (render scenes but generate no output files)
--transparent-tRender a scene with an alpha channel
--low_quality-qlRender at low quality
--medium_quality-qmRender at medium quality
--high_quality-qhRender at high quality
--fourk_quality-qkRender at 4K quality

若要在 Jupyter 中使用

1
%%manim Test1 [CLI options]

Mobject

Mobject 是屏幕中出现的所有物体的超类

通用方法

所有方法以 Mobject. 开头

移动

  • to_edge(edge, buff=)

    移动到指定方向及其线性组合

    • edge:DIRECTION
    • buff:两者的边界距离
  • to_corner(corner, buff=)

    移动到四角

    • corner
    • buff:两者的边缘的距离
  • move_to(…)

    在当前位置移动到对应的位置

    参数可以是

    • mobject:另一个 Mobject
    • aligned_edge:DIRECTION 的线性组合
    • coor_mask:numpy 向量,默认为 np.array([1, 1, 1])
  • next_to(mobject, direction, buff=)

    移动到指定对象的相对位置

    • mobject:另一个 Mobject 对象
    • direction:DIRECTION
    • buff:两者的边界距离,默认为 0.25
    • aligned_edge:对齐的方向
  • align_to(mobject, direction)

    与指定对象对齐

    • mobject:另一个 Mobject 对象
    • direction:DIRECTION
  • shift(aligned_edge)

    向自己的垂直方向平移

    • aligned_edge:DIRECTION 的线性组合
  • center()

    放到画面中心

旋转

  • rotate(angle)

    逆时针旋转

    • anglePI * number
  • flip(direction)

    按照指定方向翻转 180 度,方向遵循右手定则

    • direction:DIRECTION

变形

  • become(mobject)

    变成其他图形

    • mobject:另一个 Mobject 对象
  • set_color(color)

    变色

    • color:COLOR
  • set_color_by_gradient(gradient):

    • text.set_color_by_gradient(BLUE, GREEN)
    • text[7:12].set_color_by_gradient(BLUE, GREEN)
  • scale(scale_factor)

    缩放大小

    • scale_factor:缩放倍数
  • fade(drakness=0.5)

    变暗

    • darkness:暗度

获取信息

  • get_center()

    获取位置信息

  • get_height()

    获取高度

  • get_width()

    获取宽度

组合

  • arrange(direction, buff=0.25, center=True, **kwargs)

    排列子物体,sort mobjects next to each other on screen.

1
2
3
4
5
6
7
8
class Example(Scene):
    def construct(self):
        s1 = Square()
        s2 = Square()
        s3 = Square()
        s4 = Square()
        x = VGroup(s1, s2, s3, s4).arrange(buff=1.0)
        self.add(x)

http://markdown-1303167219.cos.ap-shanghai.myqcloud.com/image-20210216112707187.png

VMobject 独有方法

VMobjectMobject 的子类,使用贝塞尔曲线来表示物体

  • set_fill(color,opacity)

    在图案中填充颜色

    • color:COLOR
    • opacity:int 透明度
  • set_opacity(opacity)

    设置 fillstrokebackground_stroke 的不透明度

  • setstroke(color, width, opacity, background)

    设置 stroke 样式(边框样式)

  • set_style(fill_color=None, fill_opacity=None, stroke_color=None, stroke_width=None, stroke_opacity=None, background_stroke_color=None, background_stroke_width=None, background_stroke_opacity=None, sheen_factor=None, sheen_direction=None, background_image_file=None, family=True)

    允许设置全部样式

SVG

Text

Mobjects used for displaying (non-LaTeX) text.

Tex(*text_strings, **kwargs)

可传入多个 text_strings

1
2
3
4
class HelloWorld(Scene):
    def construct(self):
        text = Text('Hello world').scale(3)
        self.add(text)
Parameters
  • color
    • 改变全部文字的颜色
    • 接收一个str,如'#FFFFFF'
    • 或者是定义在 constants.py 里的颜色常量,如 BLUE
  • t2c:
    • text2color 的缩写,改变指定文字的颜色
    • 接收一个 dict,如{'text': color}
    • 或者切片模式,如 {'[1:4]': color}
  • gradient:
    • 渐变色
    • 接收一个tuple,如 (BLUE, GREEN, '#FFFFFF')
  • t2g:
    • text2gradient的缩写,改变指定文字的渐变色
    • 接收一个dict,如{'text': (BLUE, GREEN, '#FFFFFF')}
    • 或者切片模式,如{'[1:4]': (BLUE, GREEN, '#FFFFFF')}
  • font:
    • 改变全部文字的字体
    • 接收一个str,如'Source Han Sans'
  • t2f:
    • text2font的缩写,改变指定文字的字体
    • 接收一个dict,如{'text': 'Source Han Sans'}
    • 或者切片模式,如{'[1:4]': 'Source Han Sans'}
  • slant:
    • 斜体选项: NORMAL或者ITALIC
  • t2s:
    • text2slant 的缩写,改变指定文字成斜体
    • 接收一个dict,如{'text': ITALIC}
    • 或者切片模式,如{'[1:4]': ITALIC}
  • weight:
    • 字重(粗细)选项: NORMALBOLD
  • t2w:
    • text2weight 的缩写,改变指定文字成粗体
    • 接收一个dict,如{'text': BOLD}
    • 或者切片模式,如{'[1:4]': BOLD}
  • 其余 Mobject 属性
Methods
  • set_color_by_t2c(self, t2c):
    • text.set_color_by_t2c({'world':BLUE})
  • set_color_by_t2g(self, t2g):
    • text.set_color_by_t2g({'world':(BLUE, GREEN)})

切片

 1
 2
 3
 4
 5
 6
 7
 8
 9
10
11
12
13
14
15
from manim import *


class test(Scene):
    def construct(self):
        text = Text('Google',
                    t2c={
                        '[:1]': '#3174f0',
                        '[1:2]': '#e53125',
                        '[2:3]': '#fbb003',
                        '[3:4]': '#3174f0',
                        '[4:5]': '#269a43',
                        '[5:]': '#e53125',
                    })
        self.play(Write(text))

http://markdown-1303167219.cos.ap-shanghai.myqcloud.com/image-20210215185733556.png

Tex

A string compiled with LaTeX in normal mode.

Tex(*tex_strings, **kwargs)

可传入多个 tex_strings

1
2
3
4
class HelloLaTeX(Scene):
    def construct(self):
        tex = Tex(r'\LaTeX').scale(3)
        self.add(tex)

we are using a raw string (r'---') instead of a regular string ('---').

MathTex

Whereas in a MathTex mobject everything is math-mode by default.

Code

Code 使用 pygments 给代码生成带语法高亮的 html 文件,然后再转换为物体。

Code(file_name=None, **kwargs)

结构
  1. Code[0] 是代码的背景 ( Code.background_mobject )
    1. 如果 background == "rectangle" 则是一个 Rectangle
    2. 如果 background == "window" 则是一个带有矩形和三个点的 VGroup
  2. Code[1] 是行号 ( Code.line_numbers 一个 Paragraph),可以使用 Code.line_numbers[0] 或者 Code[1][0] 来访问行号中的第一个数字
  3. Code[2] 是代码 (Code.code),一个带有颜色的 Paragraph
parameters
  • file_name
    • Name of the code file to display.
  • code
    • If file_name is not specified, a code string can be passed directly.
  • background
    • 代码背景块形状
    • 默认 'rectangle'
 1
 2
 3
 4
 5
 6
 7
 8
 9
10
11
12
13
14
15
16
17
18
19
20
21
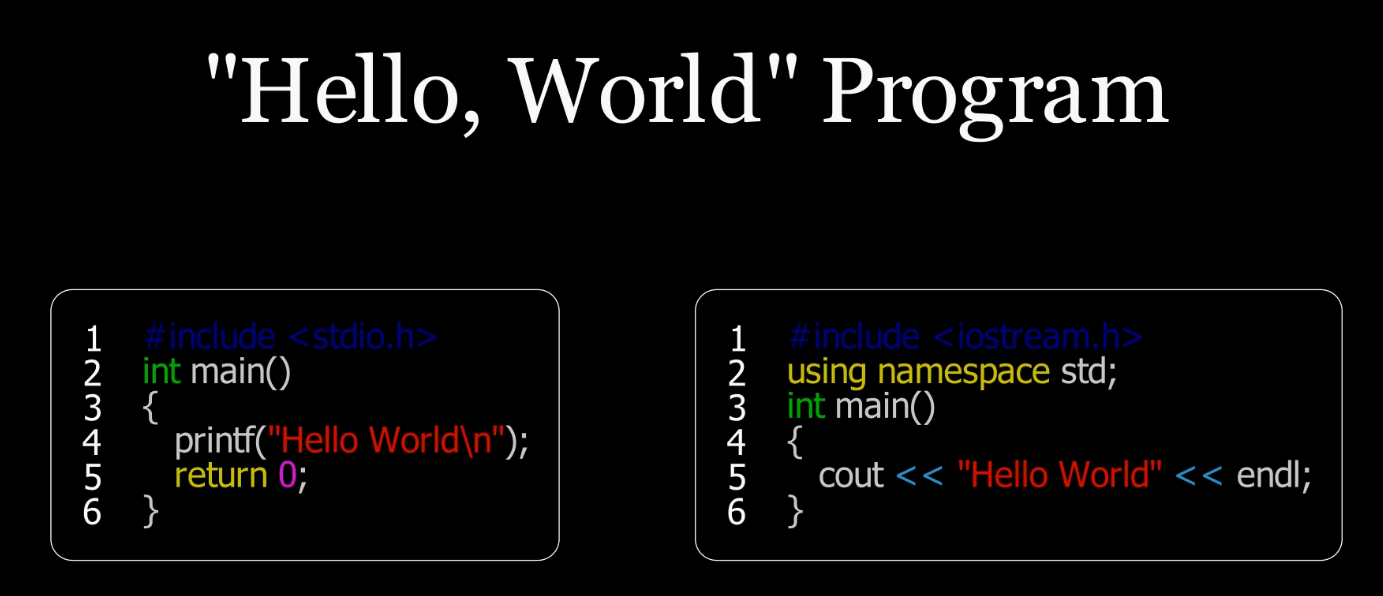
from manim import *


class test(Scene):
    def construct(self):
        heading = Text("\"Hello, World\" Program", stroke_width=0).scale(1.3)
        heading.to_edge(UP)
        helloworldc = Code("helloworldc.c", )
        helloworldcpp = Code("helloworldcpp.cpp", )
        helloworldc.move_to(np.array([-3.6, 0, 0]))
        helloworldcpp.move_to(np.array([3.1, 0, 0]))
        self.play(Write(heading), run_time=0.5)
        self.play(Write(helloworldc), run_time=2)
        self.draw_code_all_lines_at_a_time(helloworldcpp)
        self.wait()

    def draw_code_all_lines_at_a_time(self, Code):
        self.play(Write(Code.background_mobject), run_time=0.3)
        self.play(Write(Code.line_numbers), run_time=0.3)
        self.play(*[Write(Code.code[i]) for i in range(Code.code.__len__())],
                  run_time=2)

http://markdown-1303167219.cos.ap-shanghai.myqcloud.com/image-20210215191333989.png

Brace

大括号

Brace(mobject, direction, **kwargs)

ImageMobject

注意:ImageMobject 不是 VMobject 的子类,所以有很多动画无法使用

ImageMobject(filename, **kwargs)

parameters
  • height:插入图片的高度,默认为 2
Methods
  • set_opacity(alpha) 设置图片不透明度

Geometry

通用参数

  • color:颜色
  • fill_opacity:图形内不透明度,默认为 0 (透明)

  • Circle(**kwargs)
    • 正圆

  • Dot(point, radius, stroke_width, fill_opacity, color, **kwargs)
    • point:np.array 或 DIRECTION,默认为 array([0.0, 0.0, 0.0])
    • radius:半径,默认为 0.08
    • stroke_width:边框宽度,默认为 0
    • fill_opacity:不透明度,默认为 1.0
    • color:颜色,默认为 '#FFFFFF'

三角形

  • Triangle(**kwargs)
    • 正三角形

矩形

  • Rectangle(**kwargs)
    • 矩形
    • paramters
      • height : 矩形高度
      • width : 矩形宽度
  • Square(**kwargs)
    • 正方形
    • parameters
      • side_length :正方形边长

线

  • Line(start, end, **kwargs)

    • start:起点,默认 LEFT 或 array([- 1.0, 0.0, 0.0])

    • end:终点,默认 RIGHT 或 array([1.0, 0.0, 0.0])

    • methods

      • set_length(length)**

        缩放到 length 长度

箭头

  • Arrow(*args, **kwargs)
    • start:起点,默认 LEFT
    • end:终点,默认 RIGHT

Animation

通用

所有方法以 self. 开头

wait()

wait(seconds)

等待动画停留时间,如果没有参数则默认等待到将动画播放完为止

add()

add(someObject1, someObject2, …)

无动画添加文字

remove()

remove(someObject1, someObject2, …)

移除

play()

play(SomePlayMethod(someObject), run_time=seconds)

播放某种动画方法

 1
 2
 3
 4
 5
 6
 7
 8
 9
10
11
12
13
14
15
16
class concurrent(Scene):
    def construct(self):
        dot1 = Dot()
        dot2 = Dot()
        dot2.shift(UP)
        dot3 = Dot()
        dot3.shift(DOWN)
 
        # 单个动画的演示
        self.play(Write(dot1))
        # 多个动画演示
        self.play(*[
            Transform(i.copy(), j) for i, j in zip([dot1, dot1], [dot2, dot3])
        ]) # 故意使用i,j是为了显示zip的使用

        self.wait()

ApplyMethod()

ApplyMethod(method, *args, **kwargs)

因为 ApplyMethod 是 Transform 的子类,所以每次只能对同一个物体执行一次操作(最后一次)

 1
 2
 3
 4
 5
 6
 7
 8
 9
10
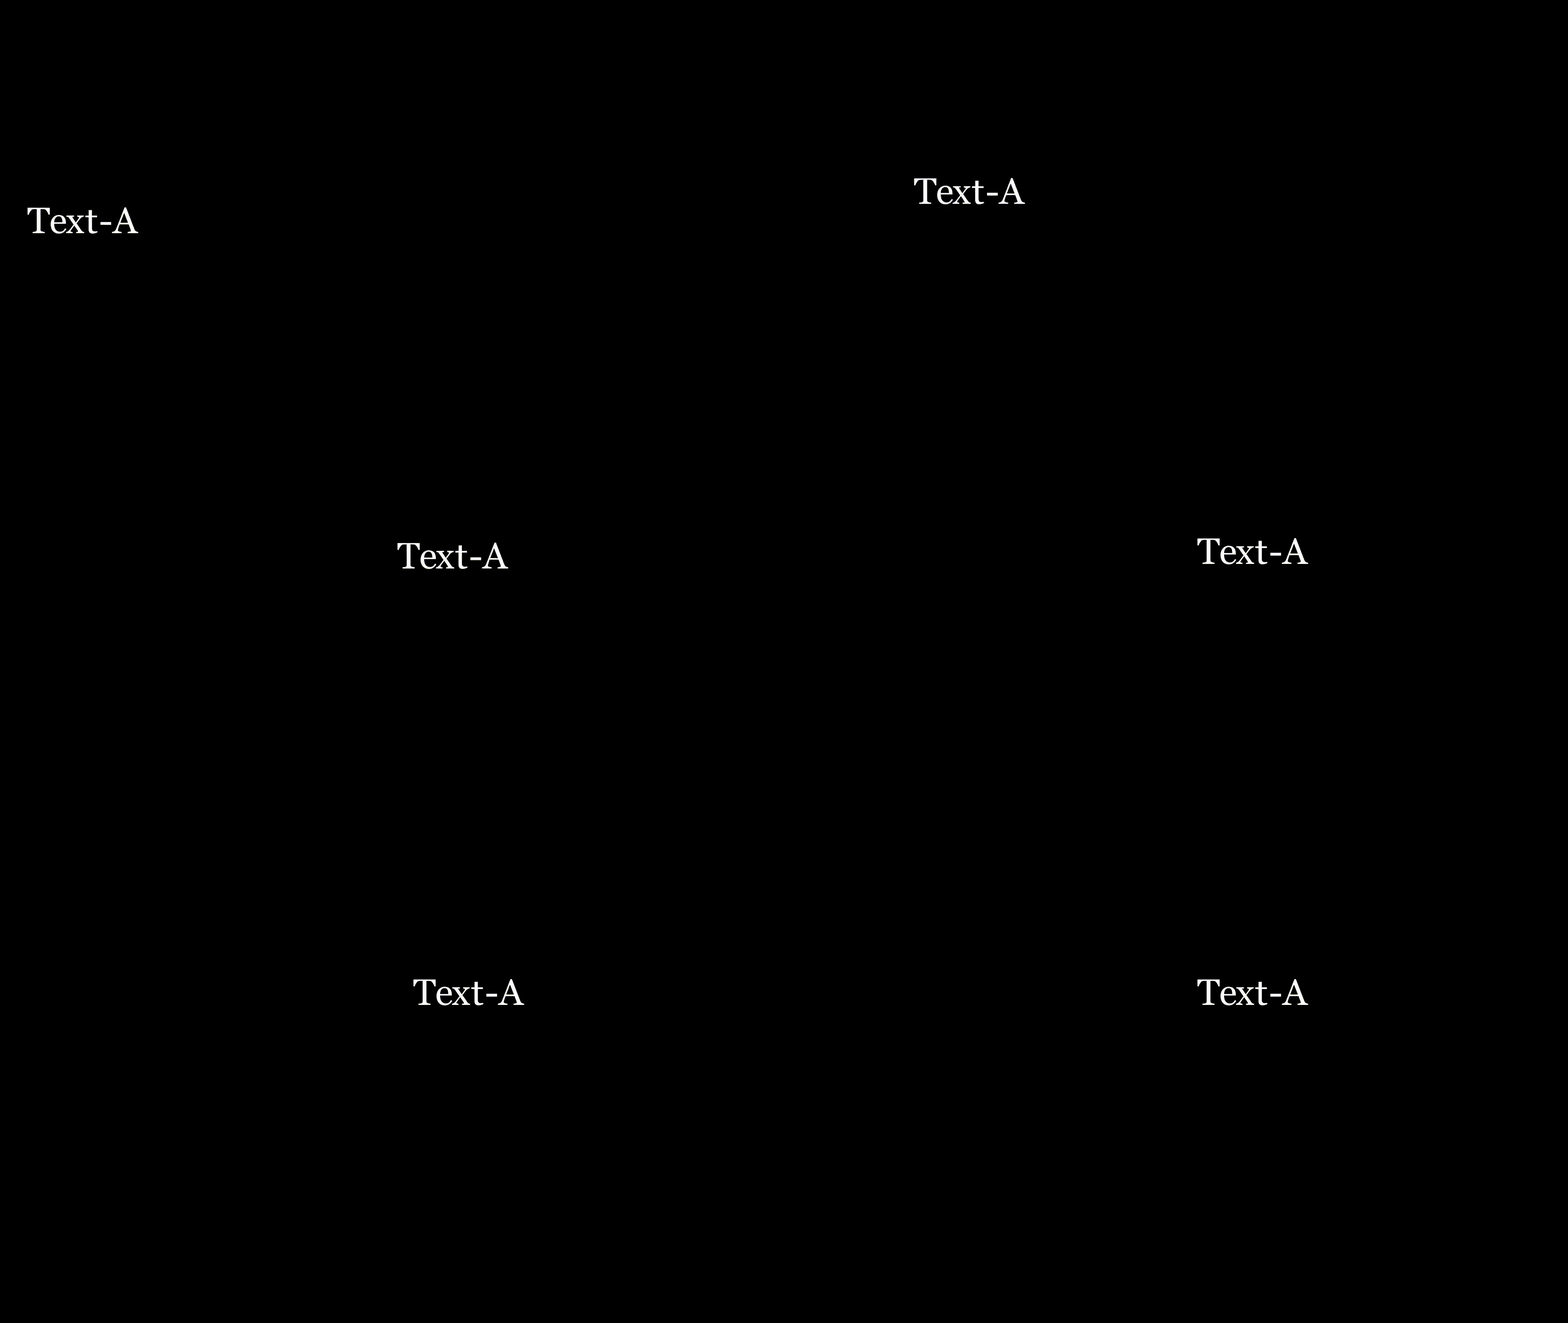
from manim import *


class test16(Scene):
    def construct(self):
        A = Text("Text-A").to_edge(LEFT)

        self.add(A)
        self.play(ApplyMethod(A.shift, RIGHT * 7 + UP * 2))
        self.wait()
test16

PlayMethod

Mobject.animate.method()

Creation

manim.animation.creation

  • DrawBorderThenFill(mobject)

    Draw the border first and then show the fill.

 1
 2
 3
 4
 5
 6
 7
 8
 9
10
11
12
from manim import *


class test(Scene):
    def construct(self):
        cir = Circle(fill_opacity=1, color=GREEN)
        rec = Rectangle(fill_opacity=1, color=BLUE)
        text = Text('Text.')
        group = VGroup(cir, rec, text).arrange(LEFT)

        self.play(*[DrawBorderThenFill(mob) for mob in group])
        self.wait()
test0
  • ShowCreation(mobject)

    Incrementally show a VMobject.

 1
 2
 3
 4
 5
 6
 7
 8
 9
10
11
12
13
from manim import *


class test(Scene):
    def construct(self):
        cir1 = Circle(fill_opacity=1)
        cir2 = Circle(color=BLUE)
        text = Text('These are two circles.')
        cir_group = VGroup(cir1, cir2, text)
        cir_group.arrange(RIGHT)

        self.play(*[ShowCreation(mob) for mob in cir_group])
        self.wait()

http://markdown-1303167219.cos.ap-shanghai.myqcloud.com/test.gif

  • Uncreate(mobject)

    Like ShowCreation but in reverse.

  • Write(mobject)

    Simulate hand-writing a Text or hand-drawing a VMobject.

Fading

manim.animation.fading

  • FadeIn(mobject) 淡入
  • FadeInFrom(mobject, direction) 从指定方向淡入
  • FadeInFromPoint(mobject, point) 从指定位置以点淡入
 1
 2
 3
 4
 5
 6
 7
 8
 9
10
11
12
from manim import *


class test(Scene):
    def construct(self):
        cir = Circle(fill_opacity=1, color=GREEN)
        rec = Rectangle(fill_opacity=1, color=BLUE)
        text = Text('Text.')
        group = VGroup(cir, rec, text).arrange(LEFT)

        self.play(*[FadeInFromPoint(mob, UP * 3) for mob in group])
        self.wait()

http://markdown-1303167219.cos.ap-shanghai.myqcloud.com/test1.gif

  • FadOut(mobject) 淡出
  • FadeOutAndShift(mobject, direction) 从指定方向淡出

Movement

  • MoveAlongPath(mobject, path)

    Make one mobject move along the path of another mobject

Rotate

Animations related to rotation.

  • Rotate(mobject, angle)

Transform

Animations transforming one mobject into another.

  • Transform(mobject, target_mobject=None, **kwargs)\
  • TransformFromCopy(mobject, target_mobject, **kwargs)
 1
 2
 3
 4
 5
 6
 7
 8
 9
10
11
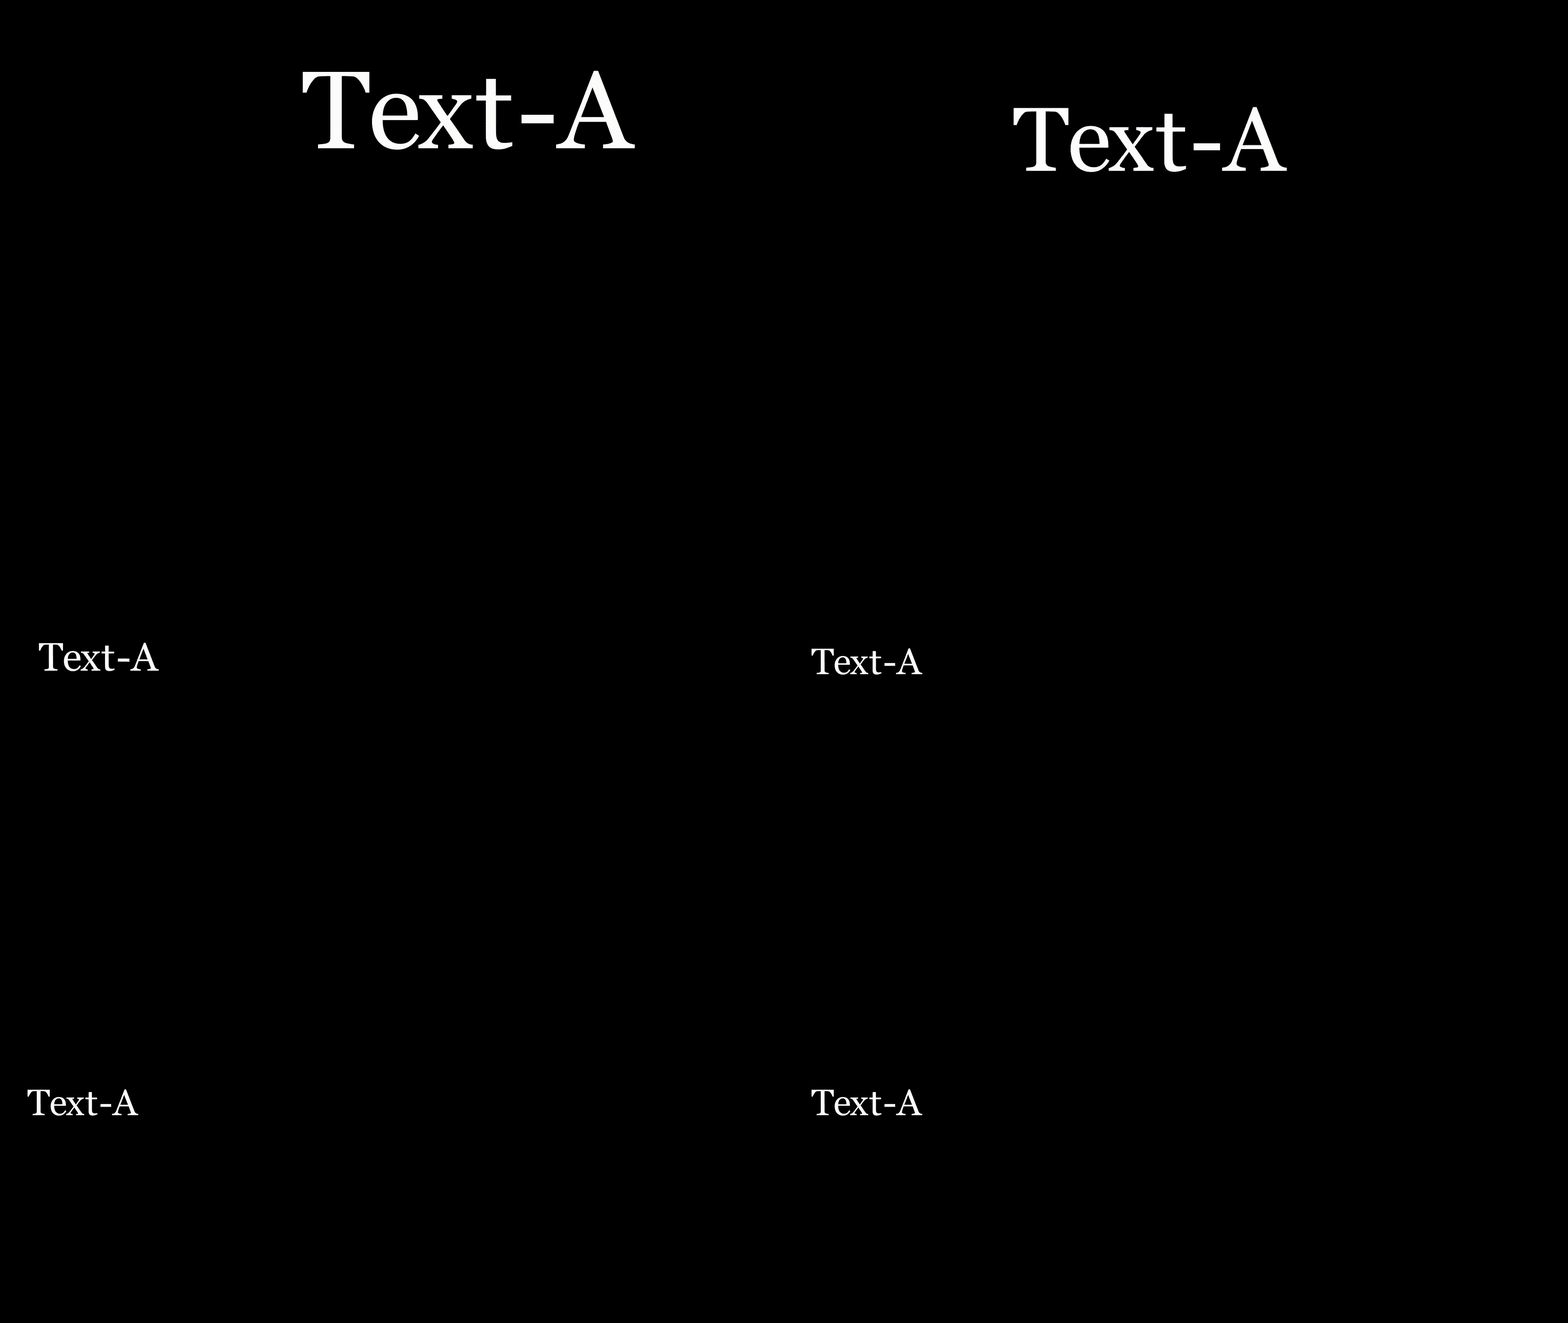
from manim import *


class test(Scene):
    def construct(self):
        A = Text("Text-A").scale(3)
        B = Text("Text-B").scale(3).shift(UP * 2)

        self.add(A)
        self.play(TransformFromCopy(A, B))
        self.wait()

http://markdown-1303167219.cos.ap-shanghai.myqcloud.com/test15.gif

  • Restore(mobject, **kwargs)

    返回之前保存的状态

 1
 2
 3
 4
 5
 6
 7
 8
 9
10
11
12
from manim import *


class test(Scene):
    def construct(self):
        A = Text("Text-A").to_edge(LEFT)
        A.save_state()  # 记录下现在状态,restore会回到此时
        A.scale(3).shift(RIGHT * 7 + UP * 2)

        self.add(A)
        self.play(Restore(A))
        self.wait()

http://markdown-1303167219.cos.ap-shanghai.myqcloud.com/test17.gif

  • ApplyFunction(function, mobject, **kwargs)

    执行函数操作

 1
 2
 3
 4
 5
 6
 7
 8
 9
10
11
12
13
14
15
from manim import *


class test(Scene):
    def construct(self):
        A = Text("Text-A").to_edge(LEFT)

        def function(mob):
            return mob.scale(3).shift(RIGHT * 7 + UP * 2)
            # 需要return一个mobject

        self.add(A)
        self.wait()
        self.play(ApplyFunction(function, A))
        self.wait()

http://markdown-1303167219.cos.ap-shanghai.myqcloud.com/test18.gif

  • Swap(*mobjects, **kwargs)

    互换位置

 1
 2
 3
 4
 5
 6
 7
 8
 9
10
11
12
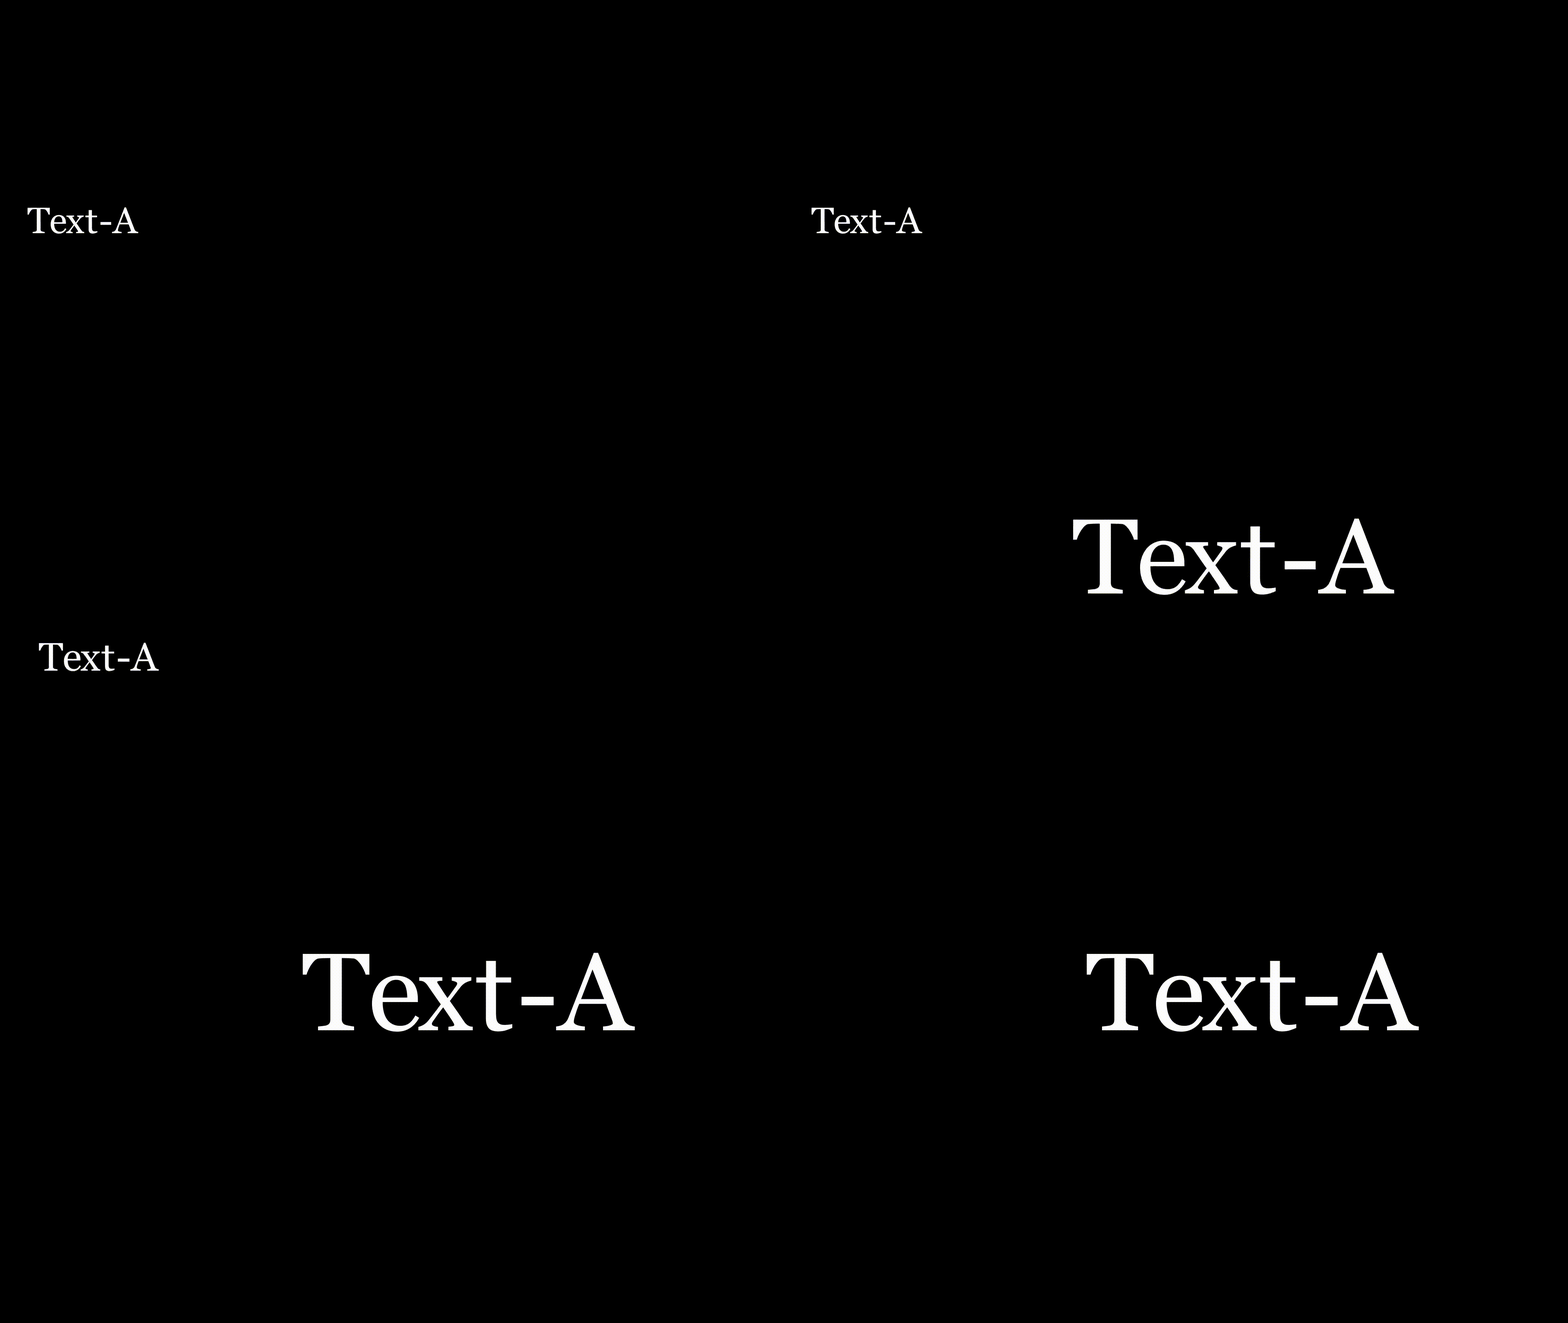
from manim import *


class test19(Scene):
    def construct(self):
        A = Text("Text-A").scale(3)
        B = Text("Text-B").scale(3)
        VGroup(A, B).arrange(RIGHT)

        self.add(A, B)
        self.play(Swap(A, B))  # 或CyclicReplace(A, B)
        self.wait()

http://markdown-1303167219.cos.ap-shanghai.myqcloud.com/test19.gif

Grow

  • GrowArrow(arrow, **kwargs)

  • GrowFromPoint(mobject, point, **kwargs)

    从指定方向由小变大进入

 1
 2
 3
 4
 5
 6
 7
 8
 9
10
11
12
13
14
15
16
17
18
19
from manim import *


class test(Scene):
    def construct(self):
        mobjects = VGroup(Circle(), Circle(fill_opacity=1),
                          Text("Text").scale(2))
        mobjects.arrange(LEFT)

        directions = [UP, LEFT, DOWN, RIGHT]

        for direction in directions:
            self.play(*[
                GrowFromPoint(mob,
                              mob.get_center() + direction * 3)
                for mob in mobjects
            ])

        self.wait()

http://markdown-1303167219.cos.ap-shanghai.myqcloud.com/test3.gif

  • GrowFromCenter(mobject, **kwargs)

  • SpinInFromNothing(mobject, **kwargs)

 1
 2
 3
 4
 5
 6
 7
 8
 9
10
11
12
13
from manim import *


class test(Scene):
    def construct(self):
        mobjects = VGroup(Square(), Square(fill_opacity=1, color=BLUE),
                          Text("Text").scale(2))
        mobjects.scale(1.5)
        mobjects.arrange(RIGHT, buff=2)

        self.play(*[SpinInFromNothing(mob) for mob in mobjects])

        self.wait()

http://markdown-1303167219.cos.ap-shanghai.myqcloud.com/test4.gif

Indication

  • FocusOn(focus_point, **kwargs)
    • focus_point:Mobject or point
 1
 2
 3
 4
 5
 6
 7
 8
 9
10
11
12
13
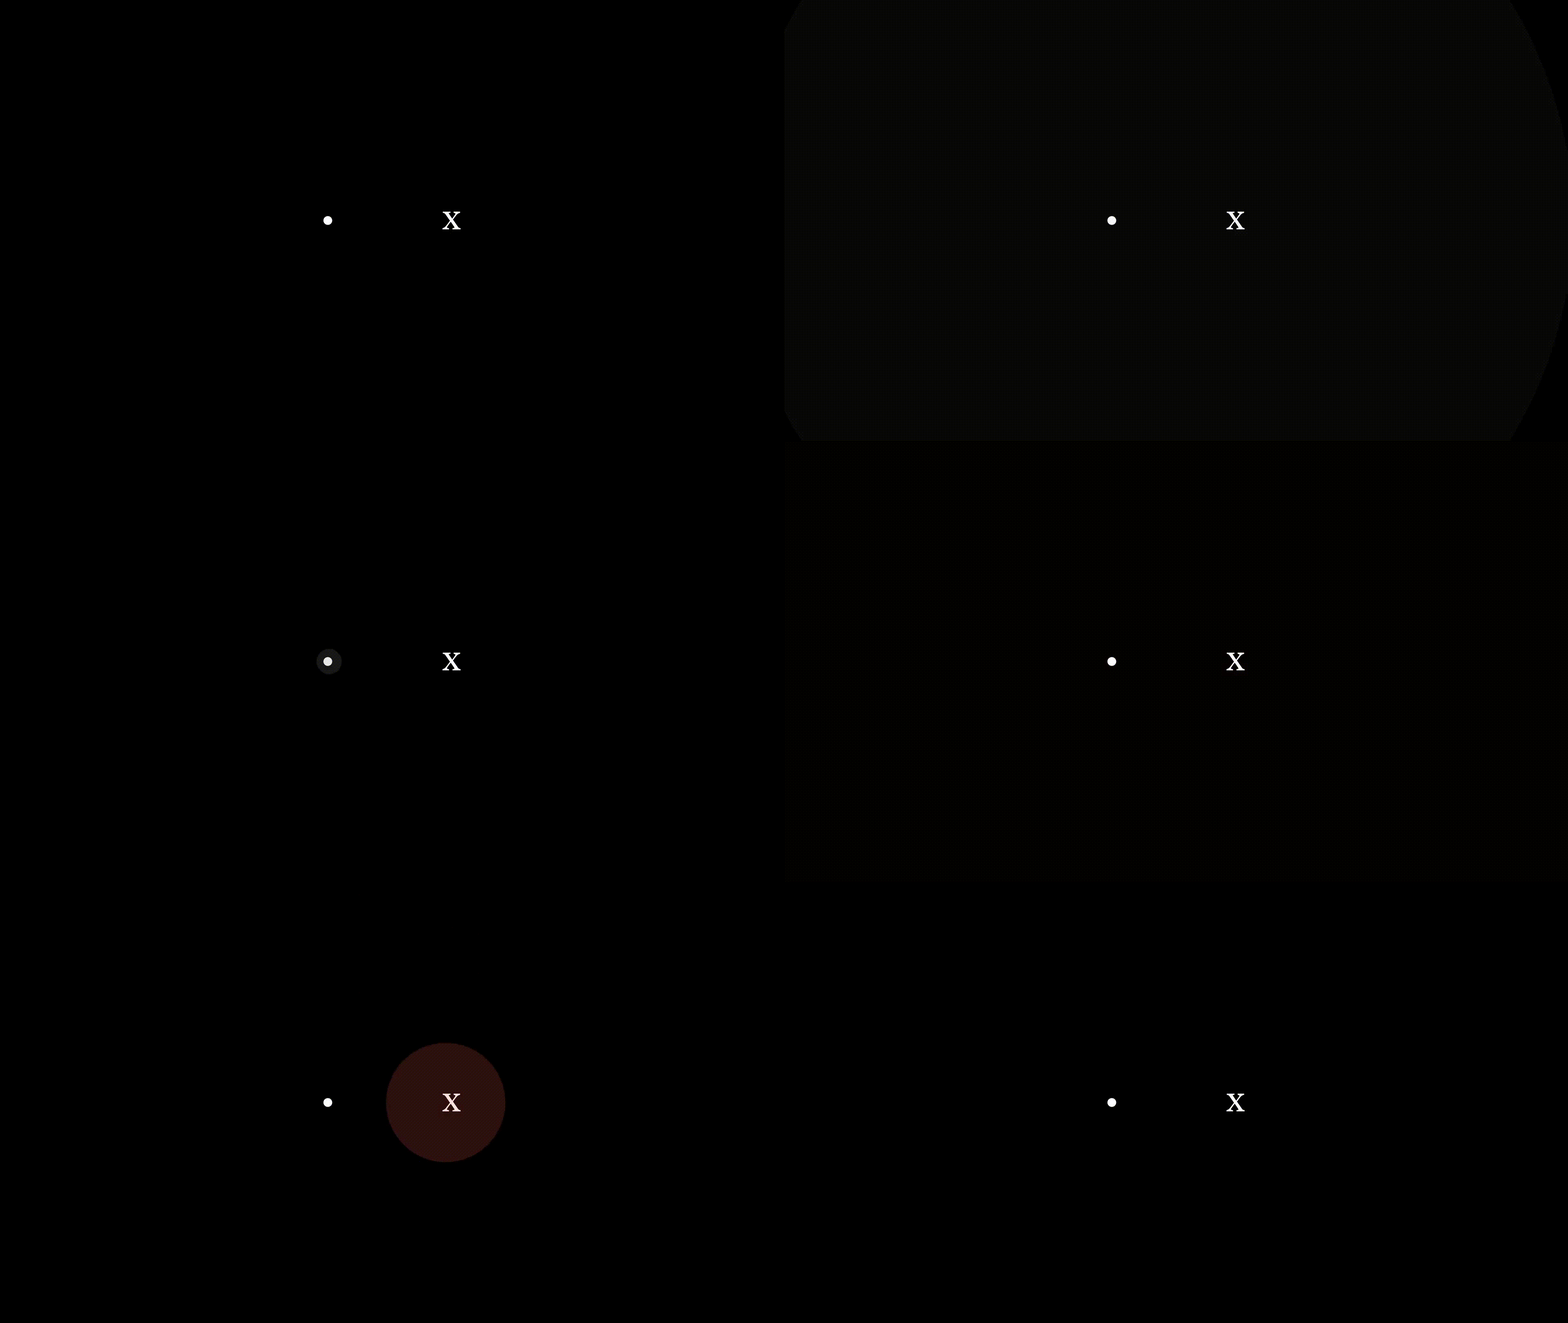
from manim import *


class test(Scene):
    def construct(self):
        mobjects = VGroup(Dot(), Text("x"))
        mobjects.arrange(RIGHT, buff=2)
        colors = [GRAY, RED]

        self.add(mobjects)
        for obj, color in zip(mobjects, colors):
            self.play(FocusOn(obj, color=color))
        self.wait(0.3)

http://markdown-1303167219.cos.ap-shanghai.myqcloud.com/test5.gif

  • Indicate(mobject, target_mobject=None, **kwargs)
 1
 2
 3
 4
 5
 6
 7
 8
 9
10
11
12
13
14
15
16
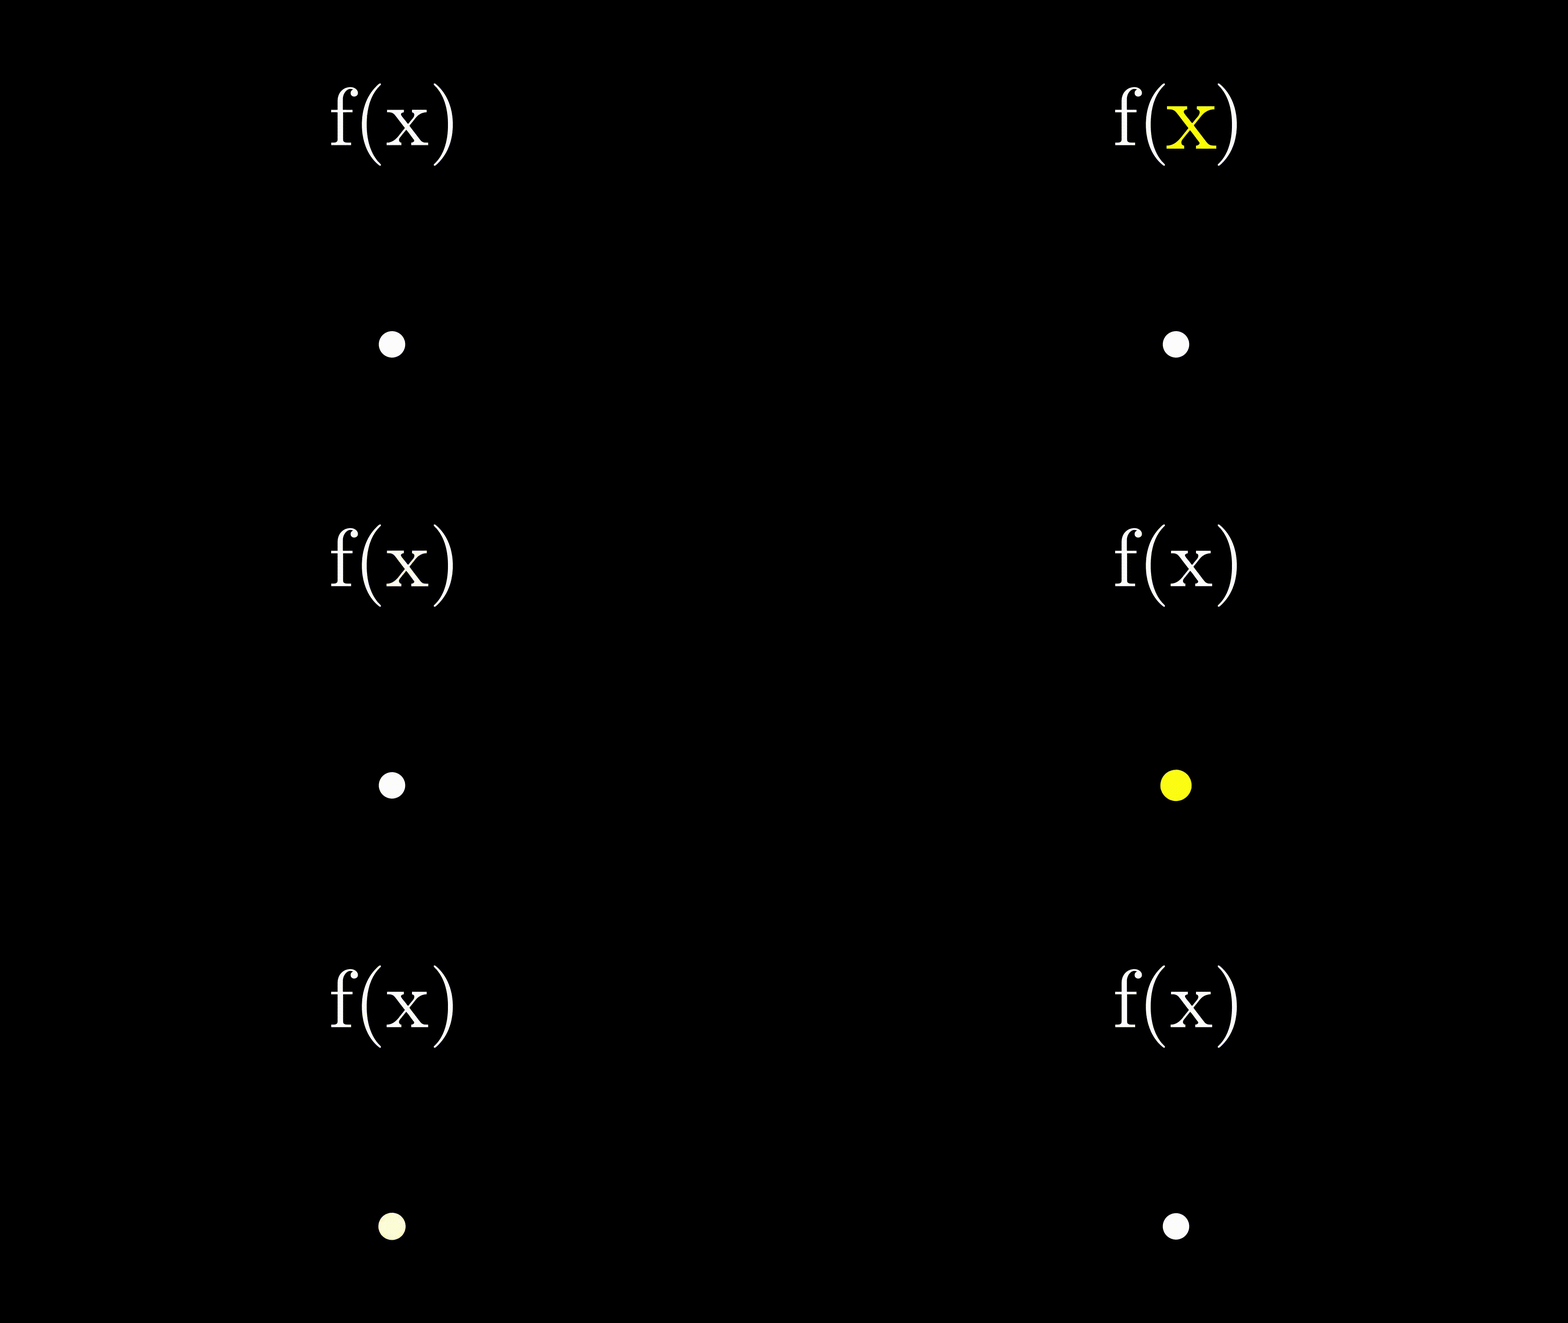
from manim import *


class test(Scene):
    def construct(self):
        formula = Tex("f(", "x", ")")
        dot = Dot()

        VGroup(formula, dot).scale(3).arrange(DOWN, buff=3)

        self.add(formula, dot)

        for mob in [formula[1], dot]:
            self.play(Indicate(mob))

        self.wait(0.3)

http://markdown-1303167219.cos.ap-shanghai.myqcloud.com/test6.gif

  • Flash(point, color, **kwargs)

    一闪一闪

 1
 2
 3
 4
 5
 6
 7
 8
 9
10
11
12
13
14
15
16
17
18
19
20
21
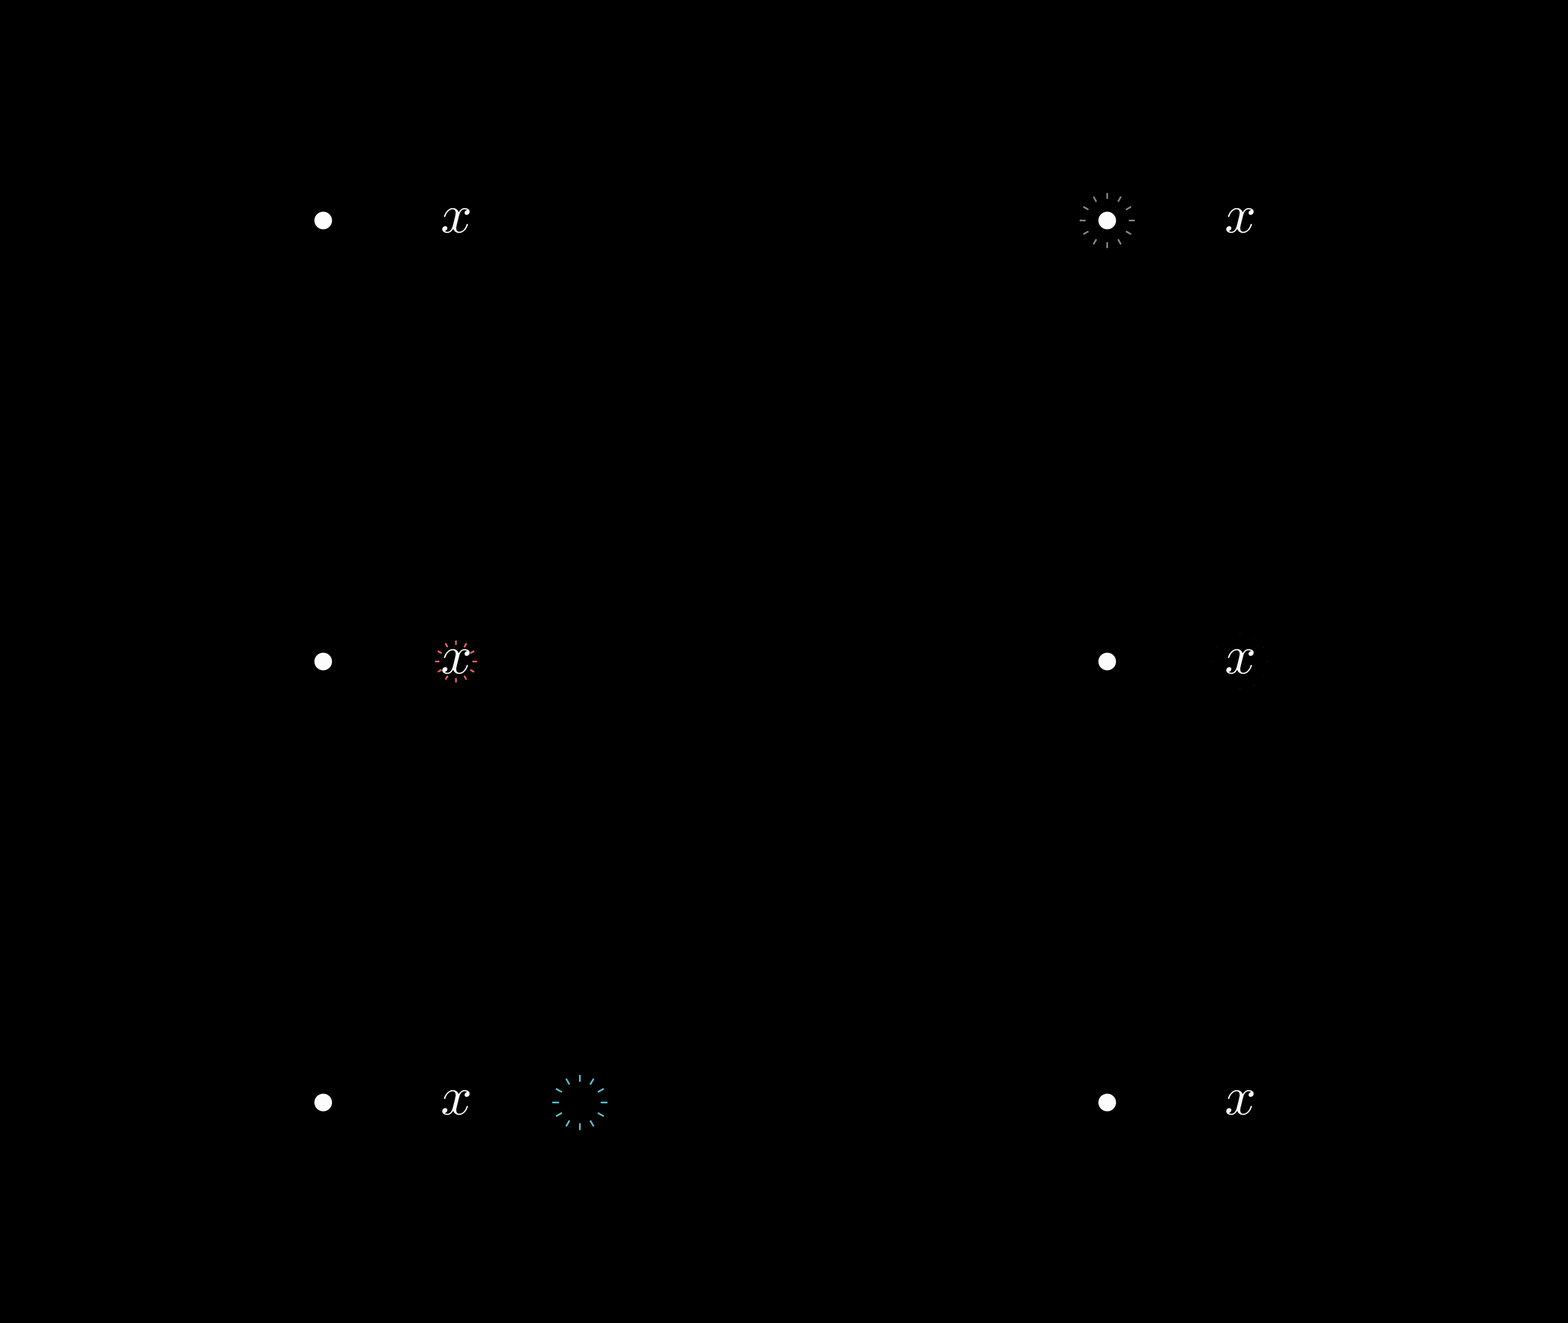
from manim import *


class test(Scene):
    def construct(self):
        mobjects = VGroup(Dot(), TexMobject("x")).scale(2)
        mobjects.arrange(RIGHT, buff=2)

        mobject_or_coord = [
            *mobjects,  # Mobjects: Dot and "x"
            mobjects.get_right() + RIGHT * 2  # Coord
        ]

        colors = [GRAY, RED, BLUE]

        self.add(mobjects)

        for obj, color in zip(mobject_or_coord, colors):
            self.play(Flash(obj, color=color, flash_radius=0.5))

        self.wait(0.3)

http://markdown-1303167219.cos.ap-shanghai.myqcloud.com/test7.gif

  • CircleIndicate(mobject, **kwargs)

    画圈圈

 1
 2
 3
 4
 5
 6
 7
 8
 9
10
11
12
13
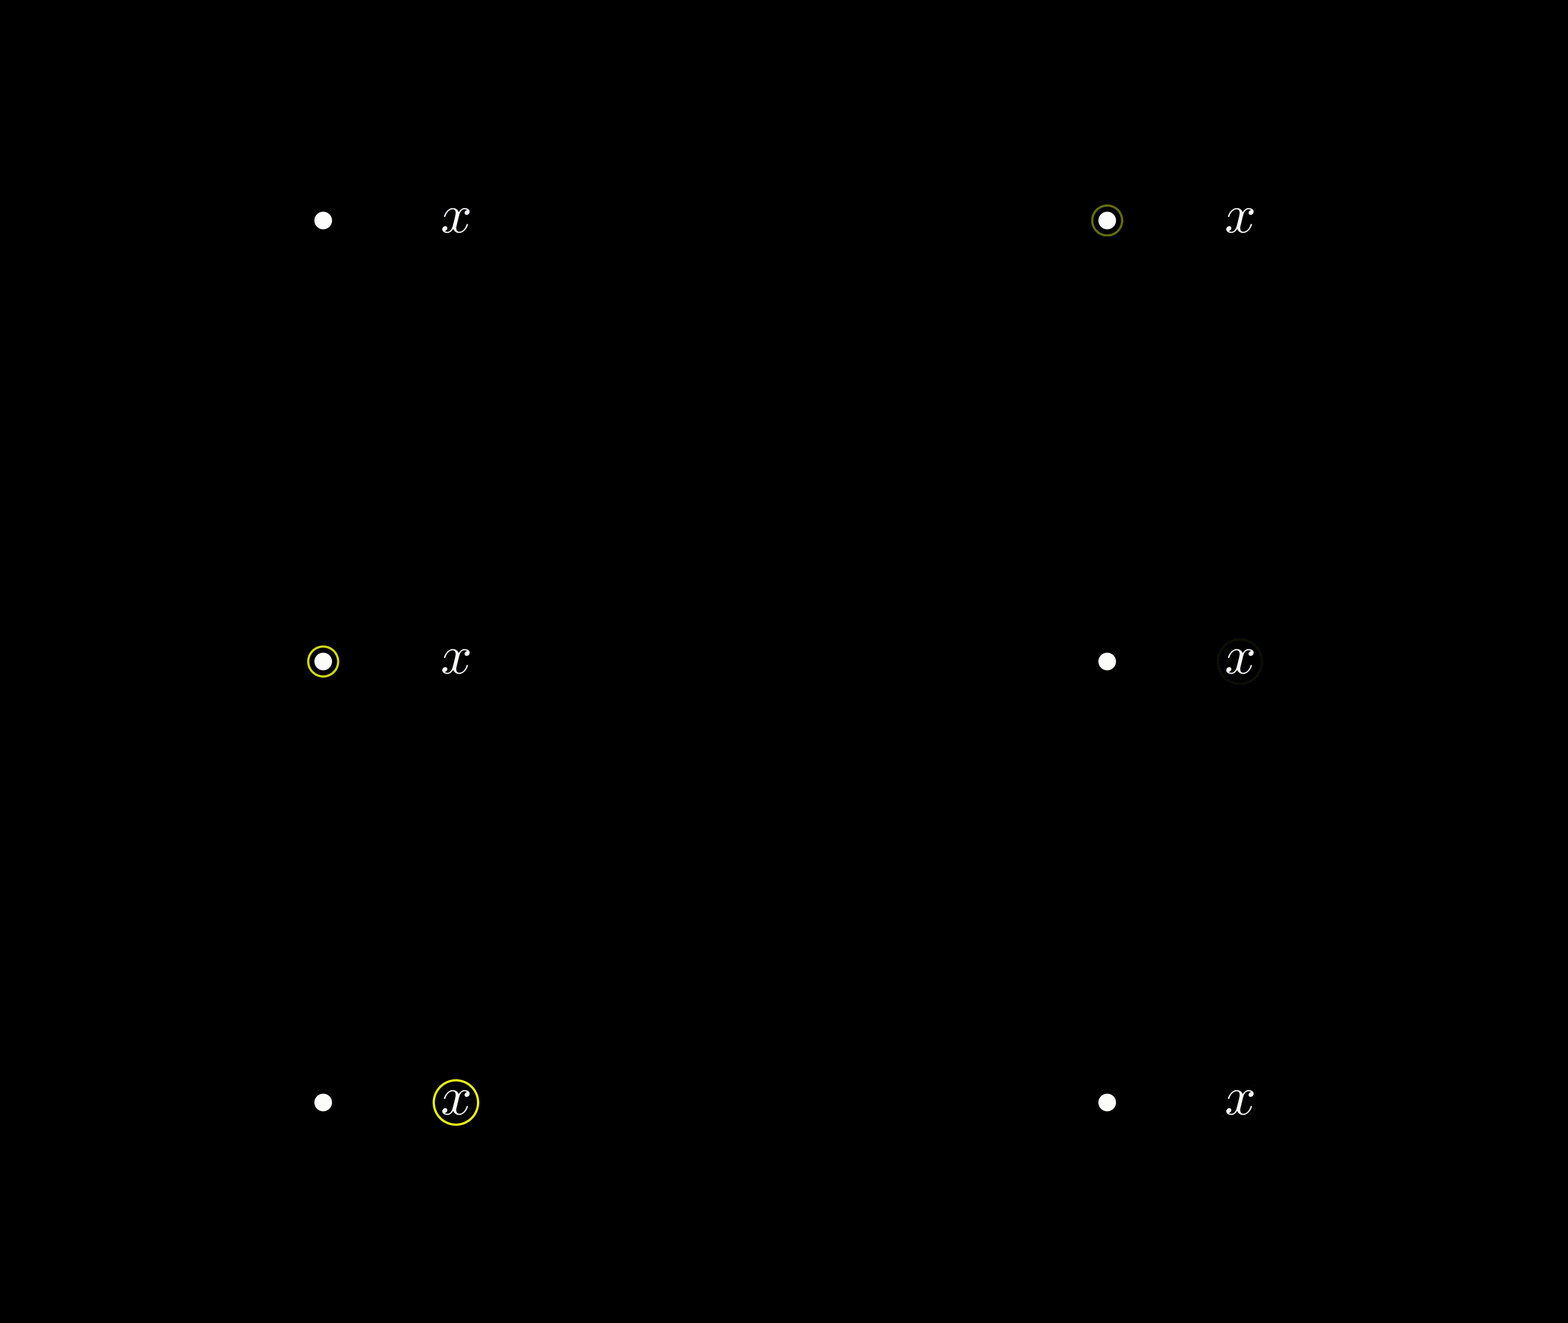
from manim import *


class test8(Scene):
    def construct(self):
        mobjects = VGroup(Dot(), TexMobject("x")).scale(2)
        mobjects.arrange(RIGHT, buff=2)

        self.add(mobjects)
        self.wait(0.2)

        for obj in mobjects:
            self.play(CircleIndicate(obj))

http://markdown-1303167219.cos.ap-shanghai.myqcloud.com/test8.gif

  • ShowCreationThenDestructionAround(mobject, **kwargs)

    展示方框

 1
 2
 3
 4
 5
 6
 7
 8
 9
10
11
12
13
14
15
16
from manim import *


class test(Scene):
    def construct(self):
        mobjects = VGroup(Circle(), Circle(fill_opacity=1),
                          Text("Text").scale(2))
        mobjects.scale(1.5)
        mobjects.arrange(RIGHT, buff=2)

        self.add(mobjects)

        self.play(
            *[ShowCreationThenDestructionAround(mob) for mob in mobjects])

        self.wait(0.3)

http://markdown-1303167219.cos.ap-shanghai.myqcloud.com/test9.gif

  • ApplyWave(mobject, **kwargs)

    水波效果

 1
 2
 3
 4
 5
 6
 7
 8
 9
10
11
12
13
14
15
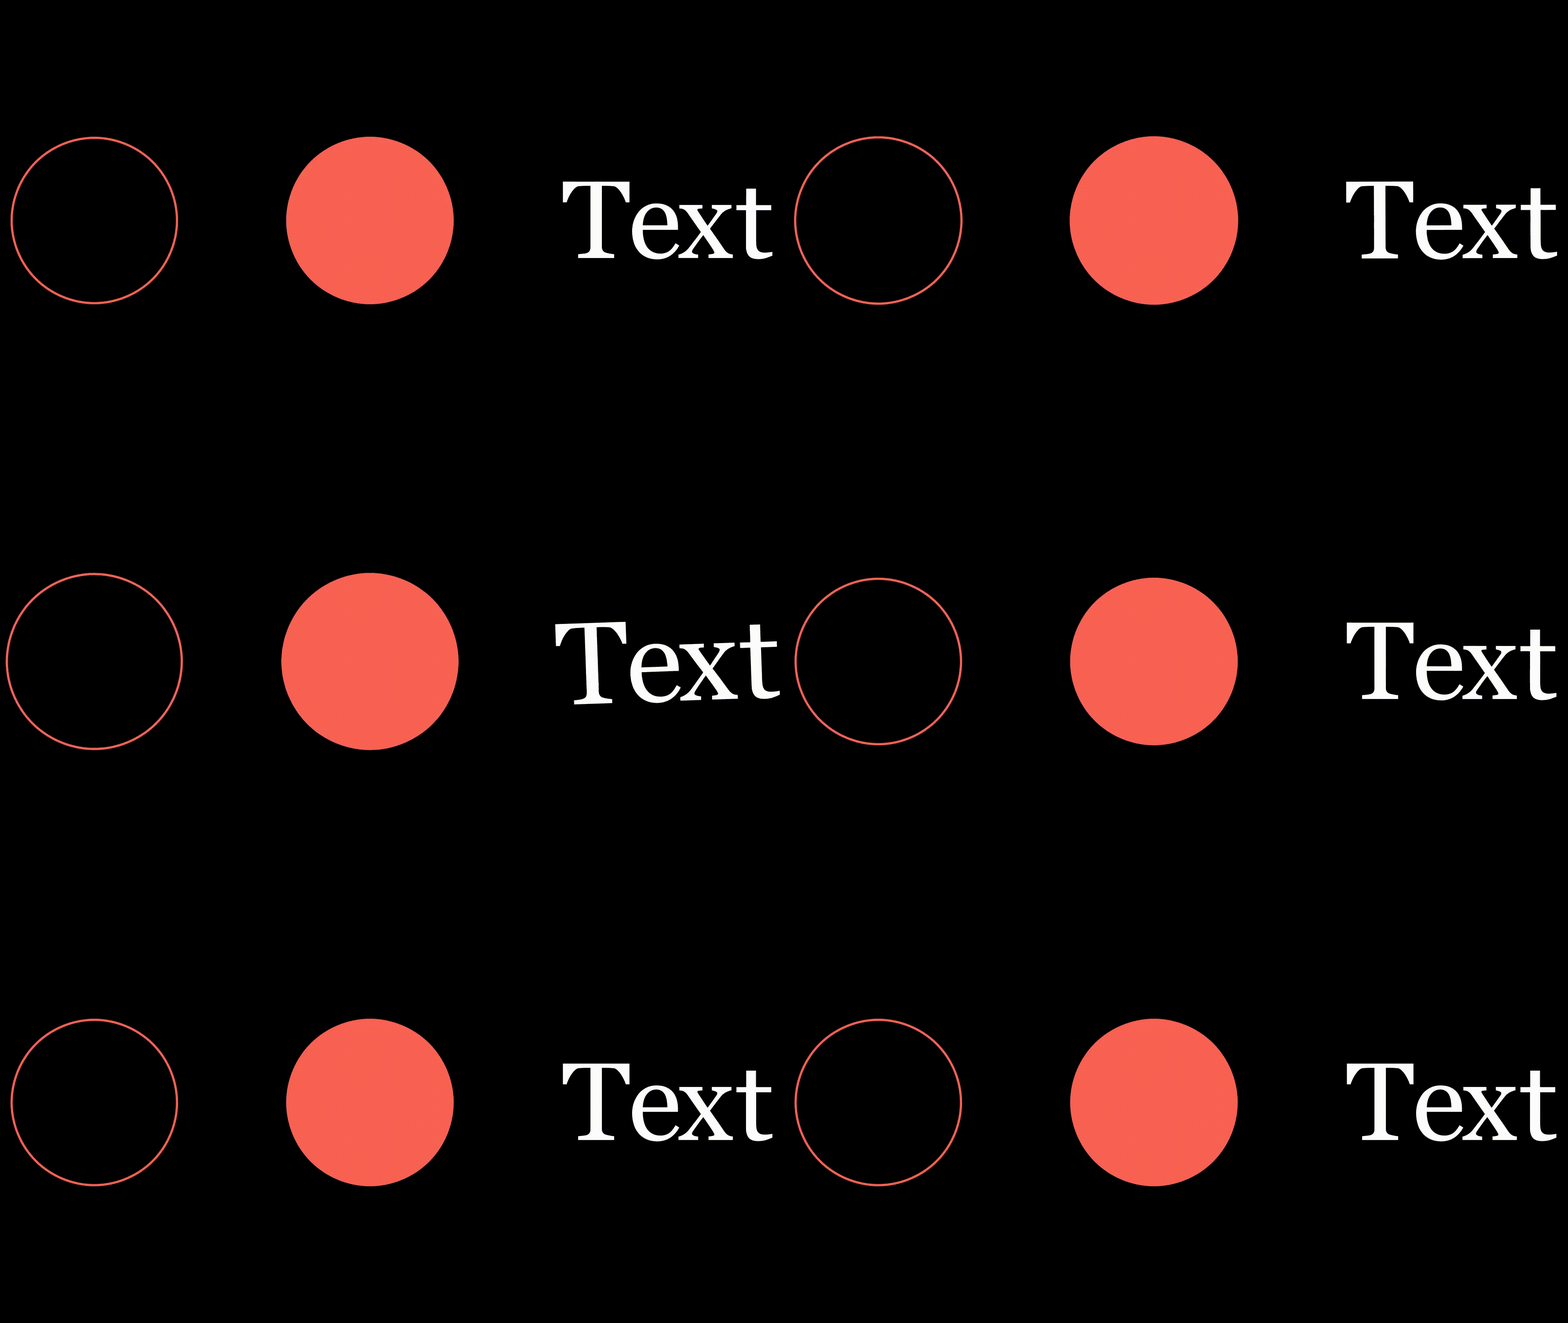
from manim import *


class test(Scene):
    def construct(self):
        mobjects = VGroup(Circle(), Circle(fill_opacity=1),
                          Text("Text").scale(2))
        mobjects.scale(1.5)
        mobjects.arrange(RIGHT, buff=2)

        self.add(mobjects)

        self.play(*[ApplyWave(mob) for mob in mobjects])

        self.wait()

http://markdown-1303167219.cos.ap-shanghai.myqcloud.com/test10.gif

  • WiggleOutThenIn(mobject, **kwargs)

    扭一扭

 1
 2
 3
 4
 5
 6
 7
 8
 9
10
11
12
13
14
15
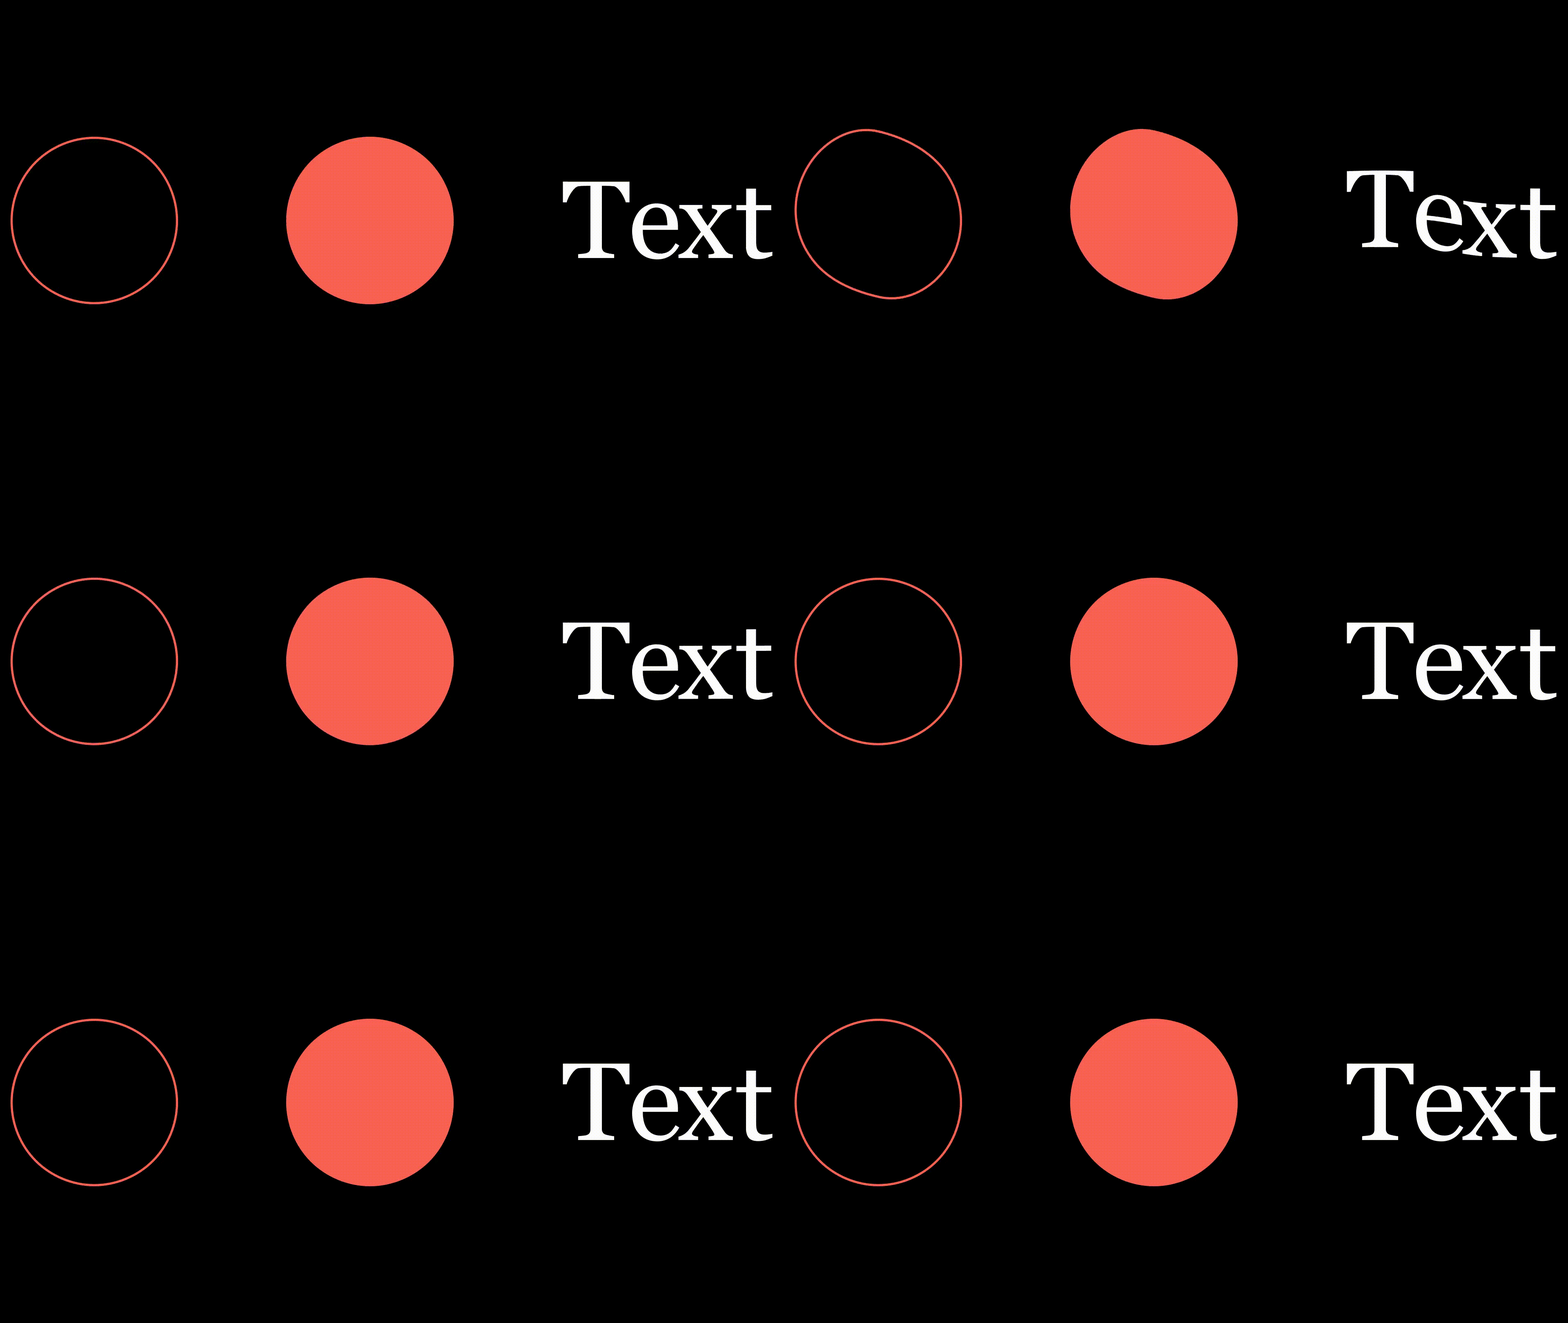
from manim import *


class test(Scene):
    def construct(self):
        mobjects = VGroup(Circle(), Circle(fill_opacity=1),
                          Text("Text").scale(2))
        mobjects.scale(1.5)
        mobjects.arrange(RIGHT, buff=2)

        self.add(mobjects)

        self.play(*[WiggleOutThenIn(mob) for mob in mobjects])

        self.wait()

http://markdown-1303167219.cos.ap-shanghai.myqcloud.com/test11.gif

Movement

  • MoveAlongPath(mobject, path, **kwargs)
 1
 2
 3
 4
 5
 6
 7
 8
 9
10
11
12
13
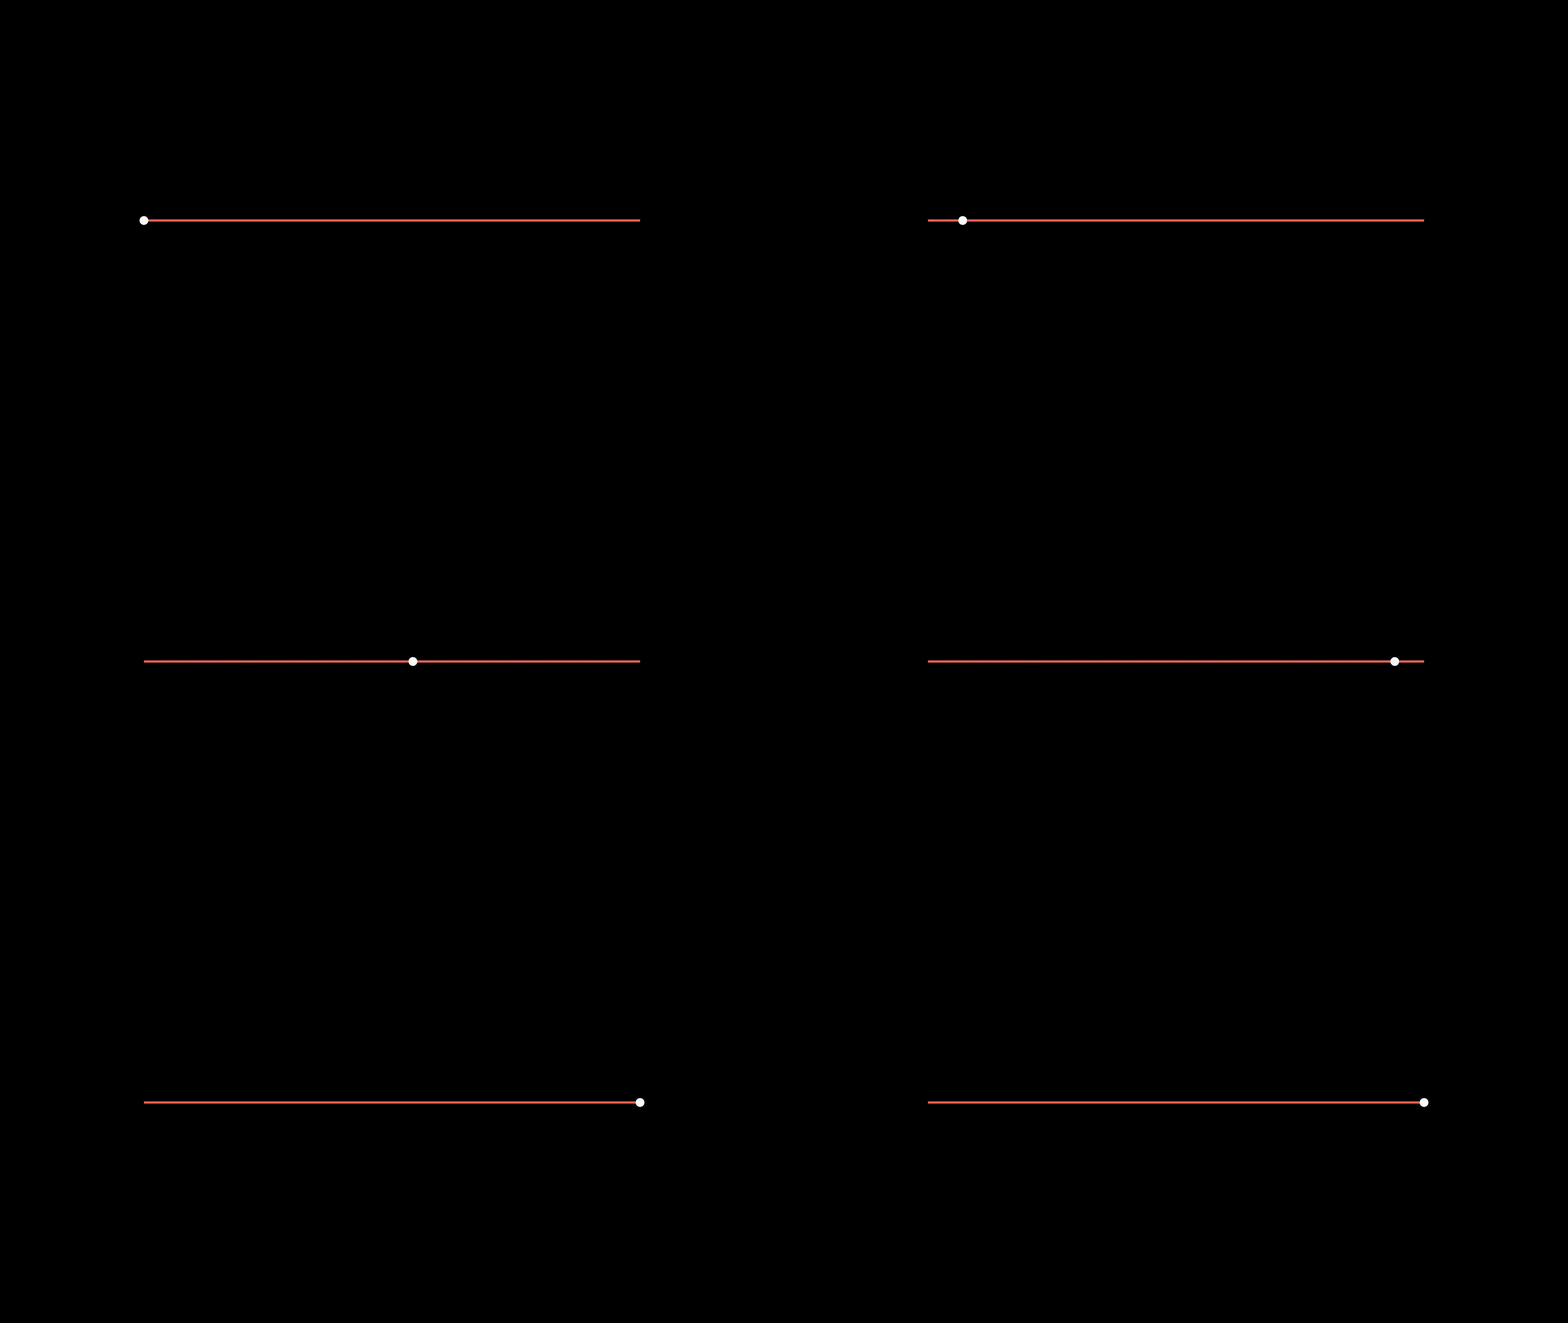
from manim import *


class test11(Scene):
    def construct(self):
        line = Line(LEFT, RIGHT * 10, color=RED, buff=1)
        line.move_to(ORIGIN)
        dot = Dot()
        dot.move_to(line.get_start())

        self.add(line, dot)
        self.play(MoveAlongPath(dot, line))
        self.wait(0.3)

http://markdown-1303167219.cos.ap-shanghai.myqcloud.com/test12.gif

Numbers

  • ChangingDecimal(decimal_mob, number_update_func, **kwargs)

    计数动画

 1
 2
 3
 4
 5
 6
 7
 8
 9
10
11
12
13
14
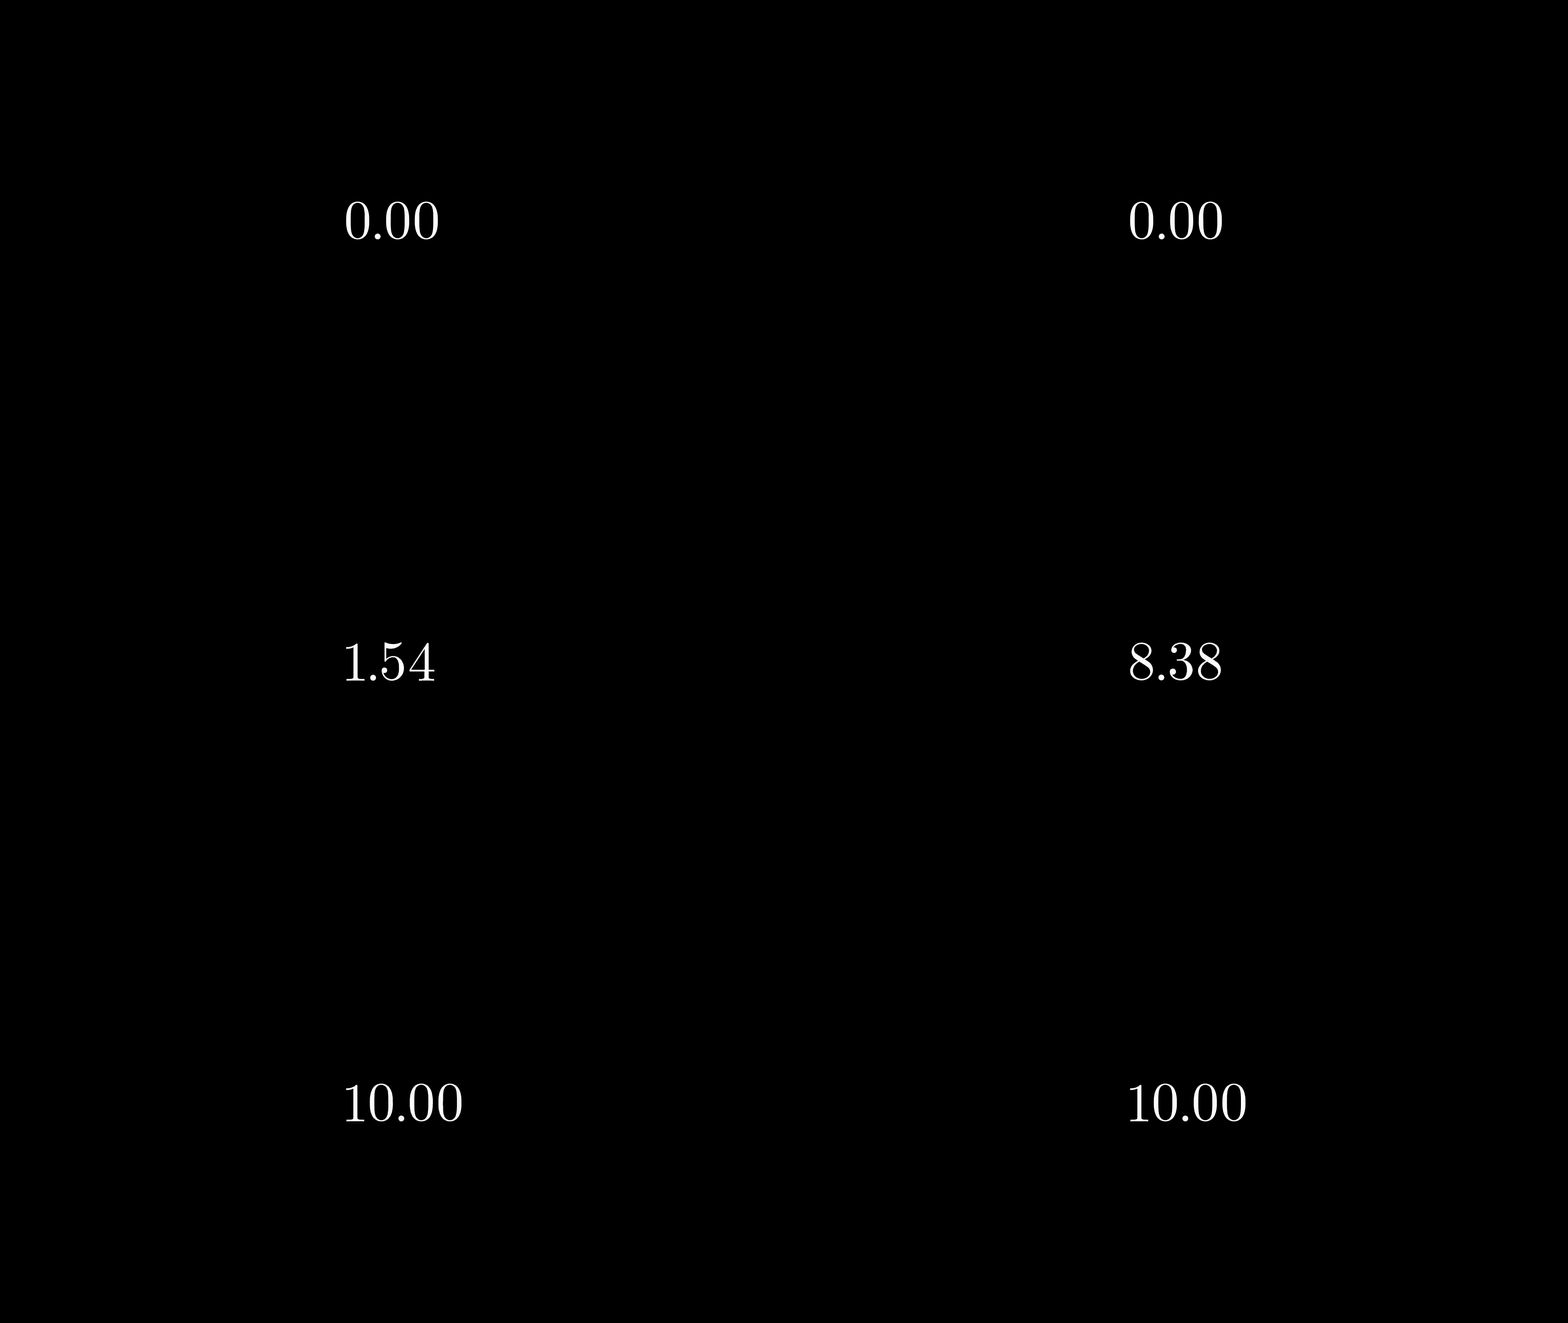
from manim import *


class test(Scene):
    def construct(self):
        number = DecimalNumber(0).scale(2)

        def update_func(t):
            return t * 10

        self.add(number)
        self.wait()
        self.play(ChangingDecimal(number, update_func), run_time=3)
        self.wait()

http://markdown-1303167219.cos.ap-shanghai.myqcloud.com/test13.gif

  • ChangeDecimalToValue(decimal_mob, target_number, **kwargs)

Rotation

Rotate 目前是 Transform 的子类,即带有 path_arcTransform ,所以会有扭曲

Rotating 直接继承自 Animation ,根据角度插值,比较顺滑,推荐使用

  • Rotating(mobject, **kwargs)
 1
 2
 3
 4
 5
 6
 7
 8
 9
10
11
12
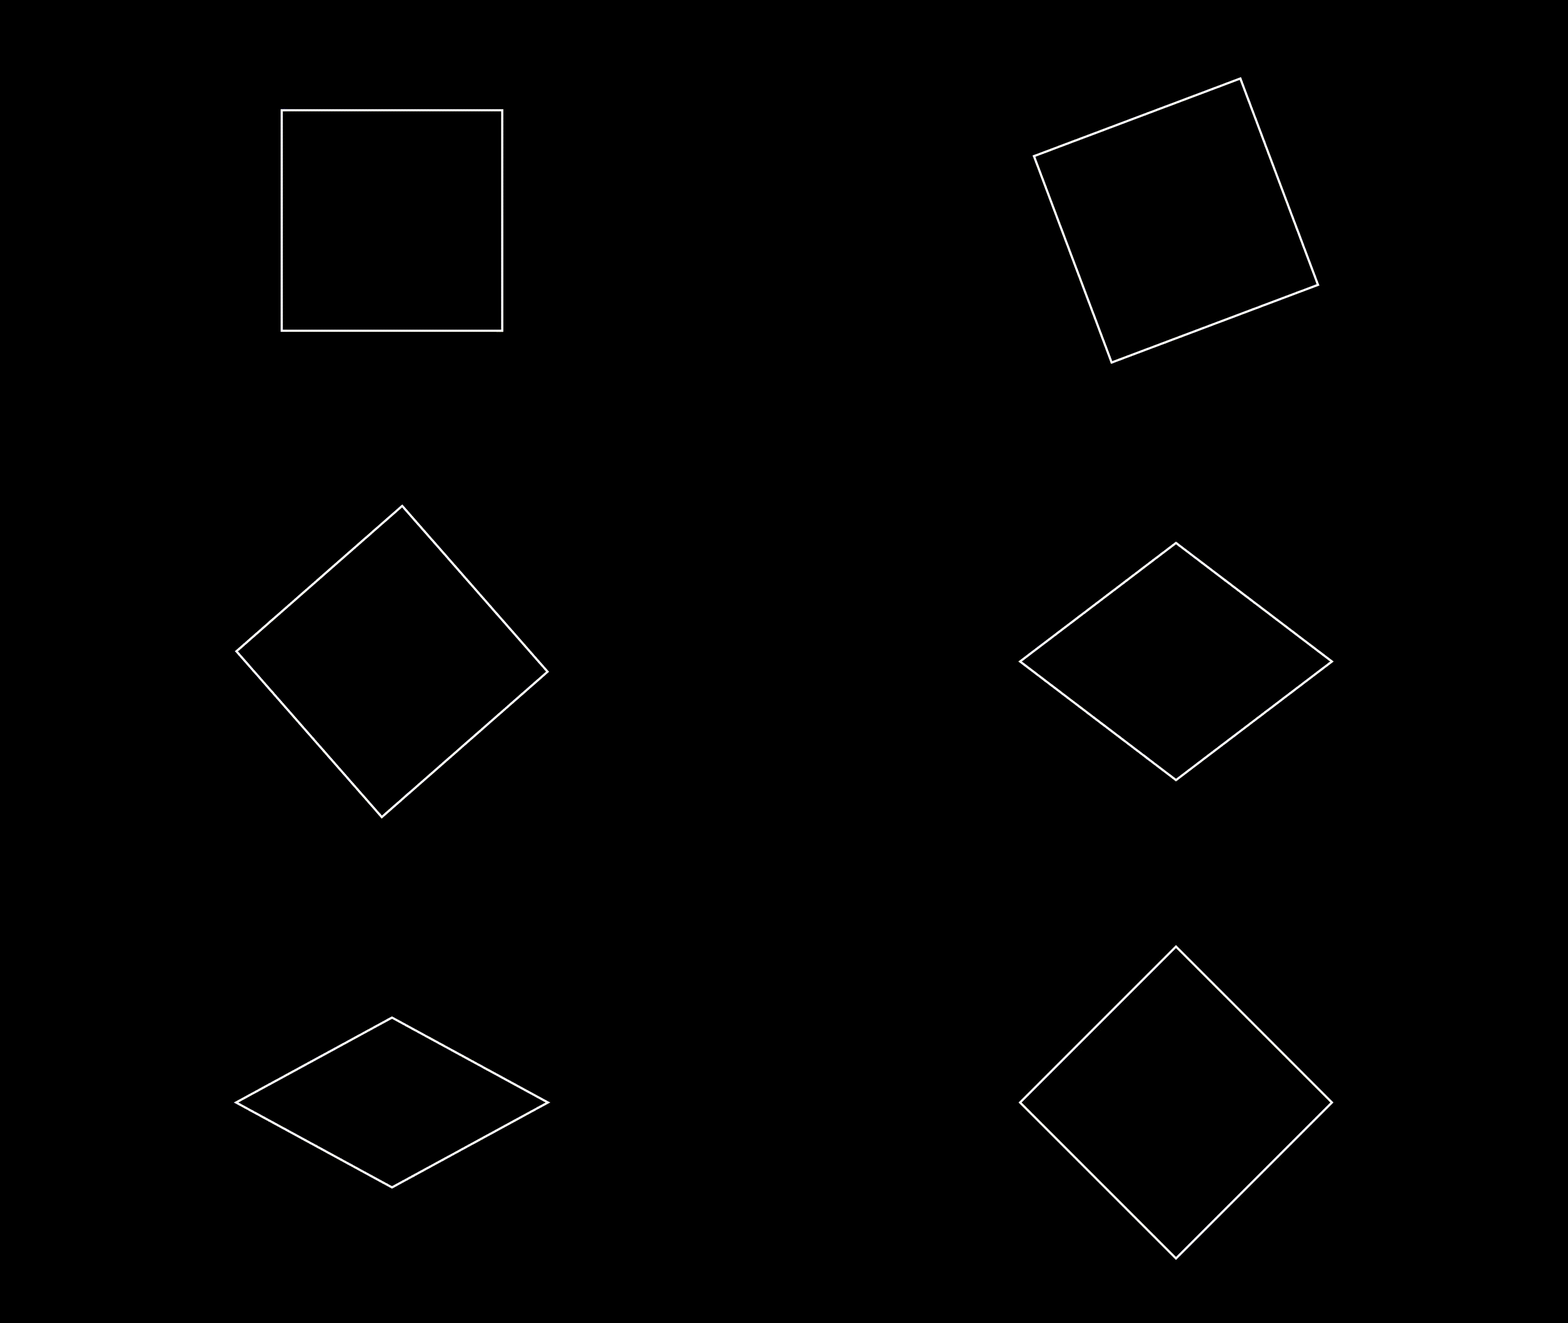
from manim import *


class test(Scene):
    def construct(self):
        square = Square().scale(2)
        self.add(square)

        self.play(Rotating(square, radians=PI / 4, run_time=2))
        self.wait(0.3)
        self.play(Rotating(square, radians=PI, run_time=2, axis=RIGHT))
        self.wait(0.3)

http://markdown-1303167219.cos.ap-shanghai.myqcloud.com/test14.gif

Update

  • UpdateFromFunc()

    实时更新

 1
 2
 3
 4
 5
 6
 7
 8
 9
10
11
12
13
14
15
16
17
18
19
20
21
22
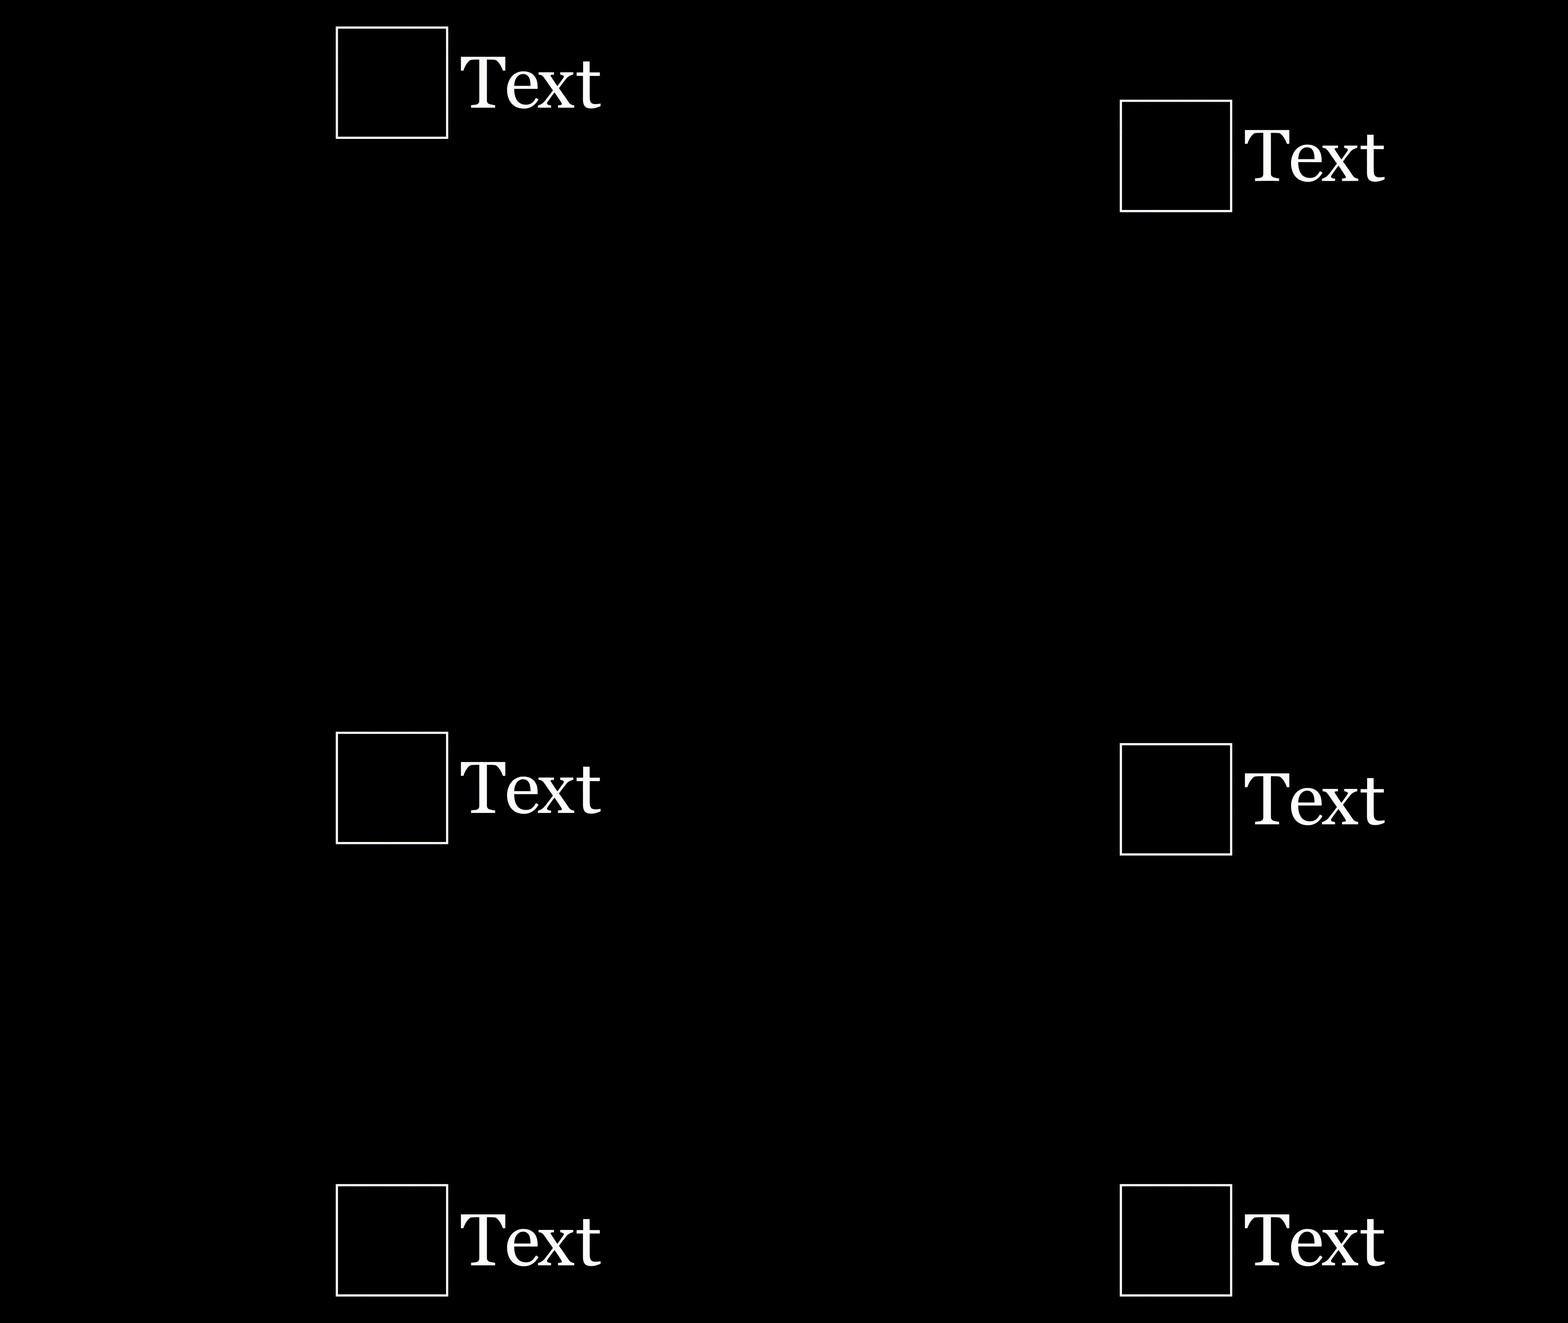
from manim import *


class test(Scene):
    def construct(self):
        square = Square().to_edge(UP)
        mobject = Text("Text").scale(2).next_to(square, RIGHT)
        
        def update_func(mob):
            mob.next_to(square, RIGHT)

        self.add(square, mobject)
        self.play(ApplyMethod(square.to_edge, DOWN),
                  UpdateFromFunc(mobject, update_func))
        self.wait()
        
        # equal to
        # group = VGroup(square, mobject)

        # self.add(group)
        # self.play(ApplyMethod(group.to_edge, DOWN))
        # self.wait()

http://markdown-1303167219.cos.ap-shanghai.myqcloud.com/test20.gif

  • UpdateFromAlphaFunc(mobject, update_function, **kwargs)

    传入的函数含有参数 alpha,表示动画完成度(0~1 之间)

 1
 2
 3
 4
 5
 6
 7
 8
 9
10
11
12
13
14
15
16
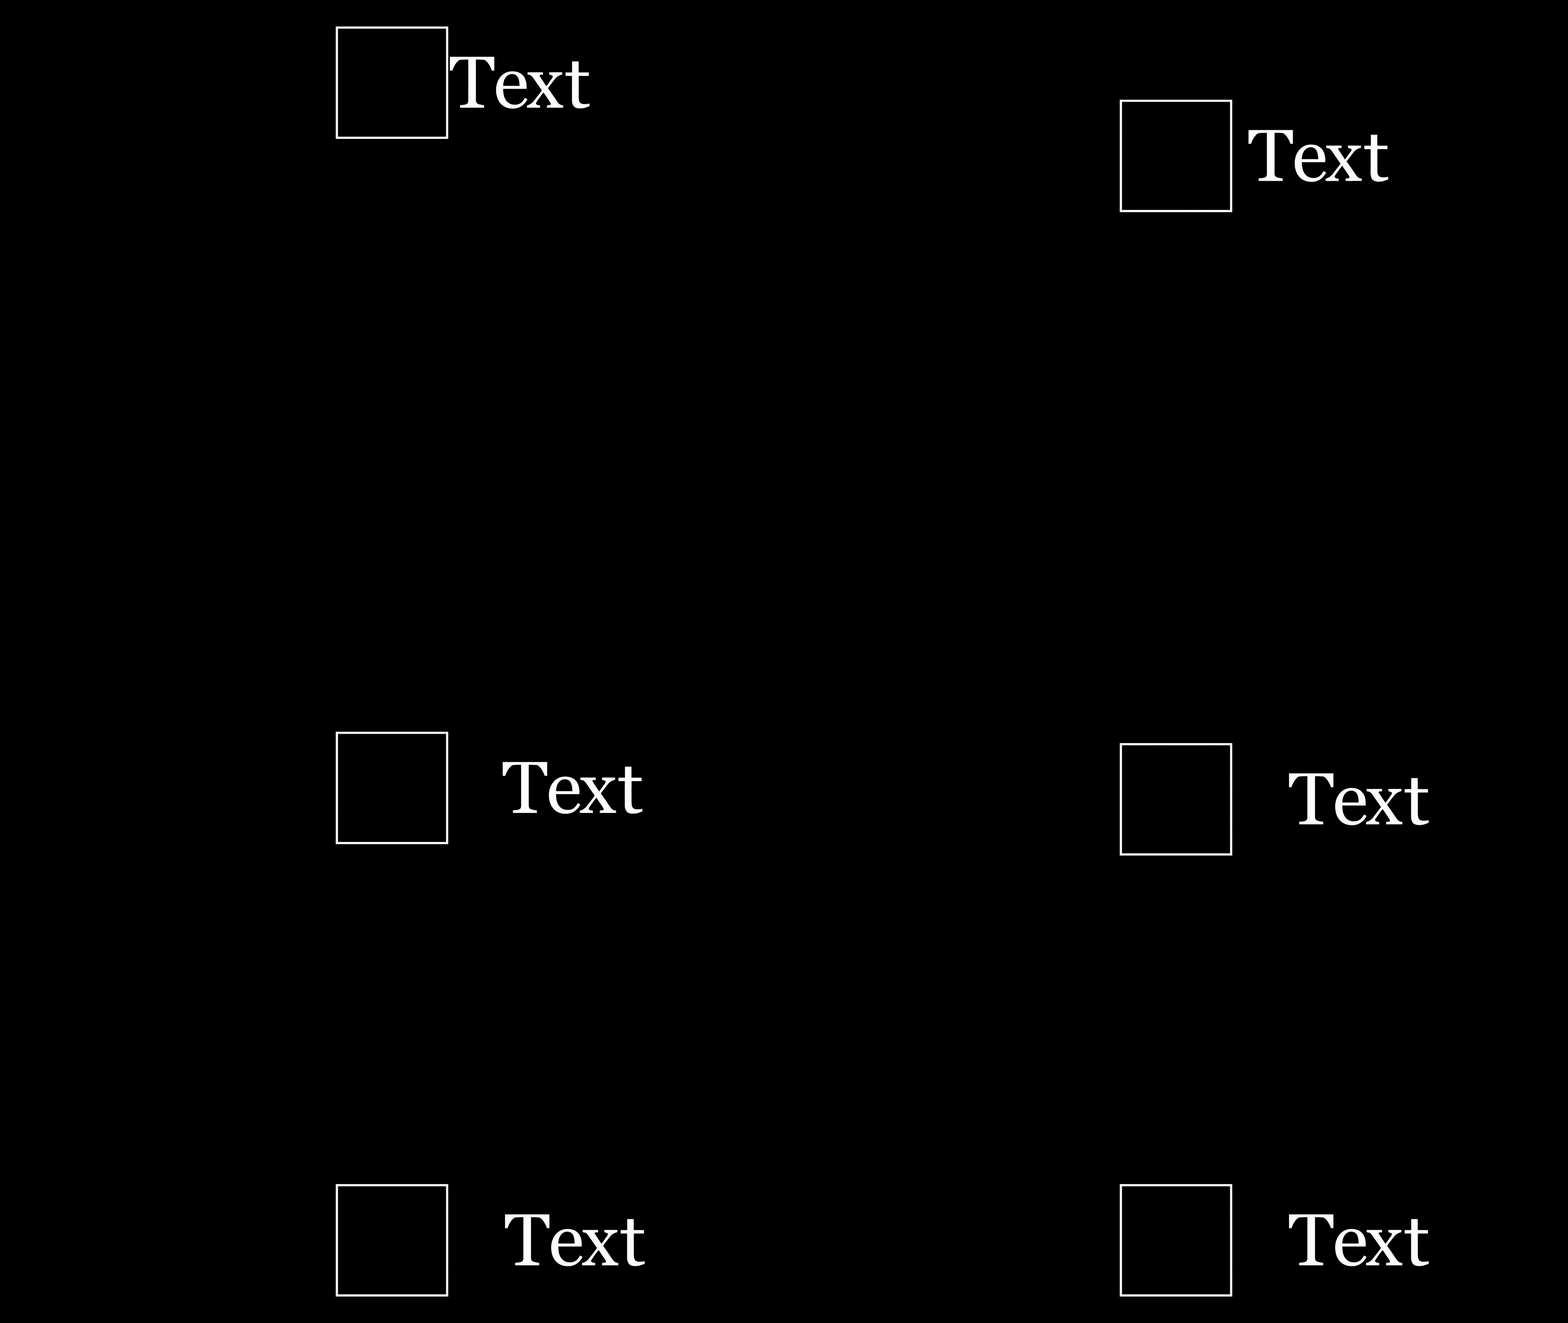
from manim import *


class test(Scene):
    def construct(self):
        square = Square().to_edge(UP)
        mobject = Text("Text").scale(2)
        mobject.next_to(square, RIGHT, buff=0.05)

        def update_func(mob, alpha):
            mob.next_to(square, RIGHT, buff=0.05 + alpha)

        self.add(square, mobject)
        self.play(square.animate.to_edge(DOWN),
                  UpdateFromAlphaFunc(mobject, update_func))
        self.wait()

http://markdown-1303167219.cos.ap-shanghai.myqcloud.com/test21.gif

Composition

  • AnimationGroup(*animations, **kwargs)

    传入一系列动画,一起执行(不能通过下标访问动画)

    • lag_ratio:默认为 0(即上一个动画运行到 0%的时候运行下一个动画)
 1
 2
 3
 4
 5
 6
 7
 8
 9
10
11
12
13
from manim import *


class test22(Scene):
    def construct(self):
        cir1 = Circle()
        cir2 = Circle(fill_opacity=1)
        text = Text("Text").scale(2)
        mobjects = VGroup(cir1, cir2, text).scale(1.5).arrange(RIGHT, buff=2)

        anims = AnimationGroup(ShowCreation(cir1), Write(cir2), FadeIn(text))
        self.play(anims)
        self.wait()

http://markdown-1303167219.cos.ap-shanghai.myqcloud.com/test22.gif

Camera

Camera 类及其子类用于获取当前屏幕上的画面, 然后作为每帧图像传递给 SceneFileWriter 来生成视频

Constants

Module Attributes

ORIGINThe center of the coordinate system.
UPOne unit step in the positive Y direction.
DOWNOne unit step in the negative Y direction.
RIGHTOne unit step in the positive X direction.
LEFTOne unit step in the negative X direction.
INOne unit step in the negative Z direction.
OUTOne unit step in the positive Z direction.
ULOne step up plus one step left.
UROne step up plus one step right.
DLOne step down plus one step left.
DROne step down plus one step right.
PIThe ratio of the circumference of a circle to its diameter.
TAUThe ratio of the circumference of a circle to its radius.
DEGREESThe exchange rate between radians and degrees.

六 其他

  1. 公式怎么对齐
    1. 直接在TexMobject中使用&对齐
    2. 两个mobject对齐,使用obj2.next_to(obj1, DOWN, aligned_edge=LEFT)使obj2obj1下方,并左对齐
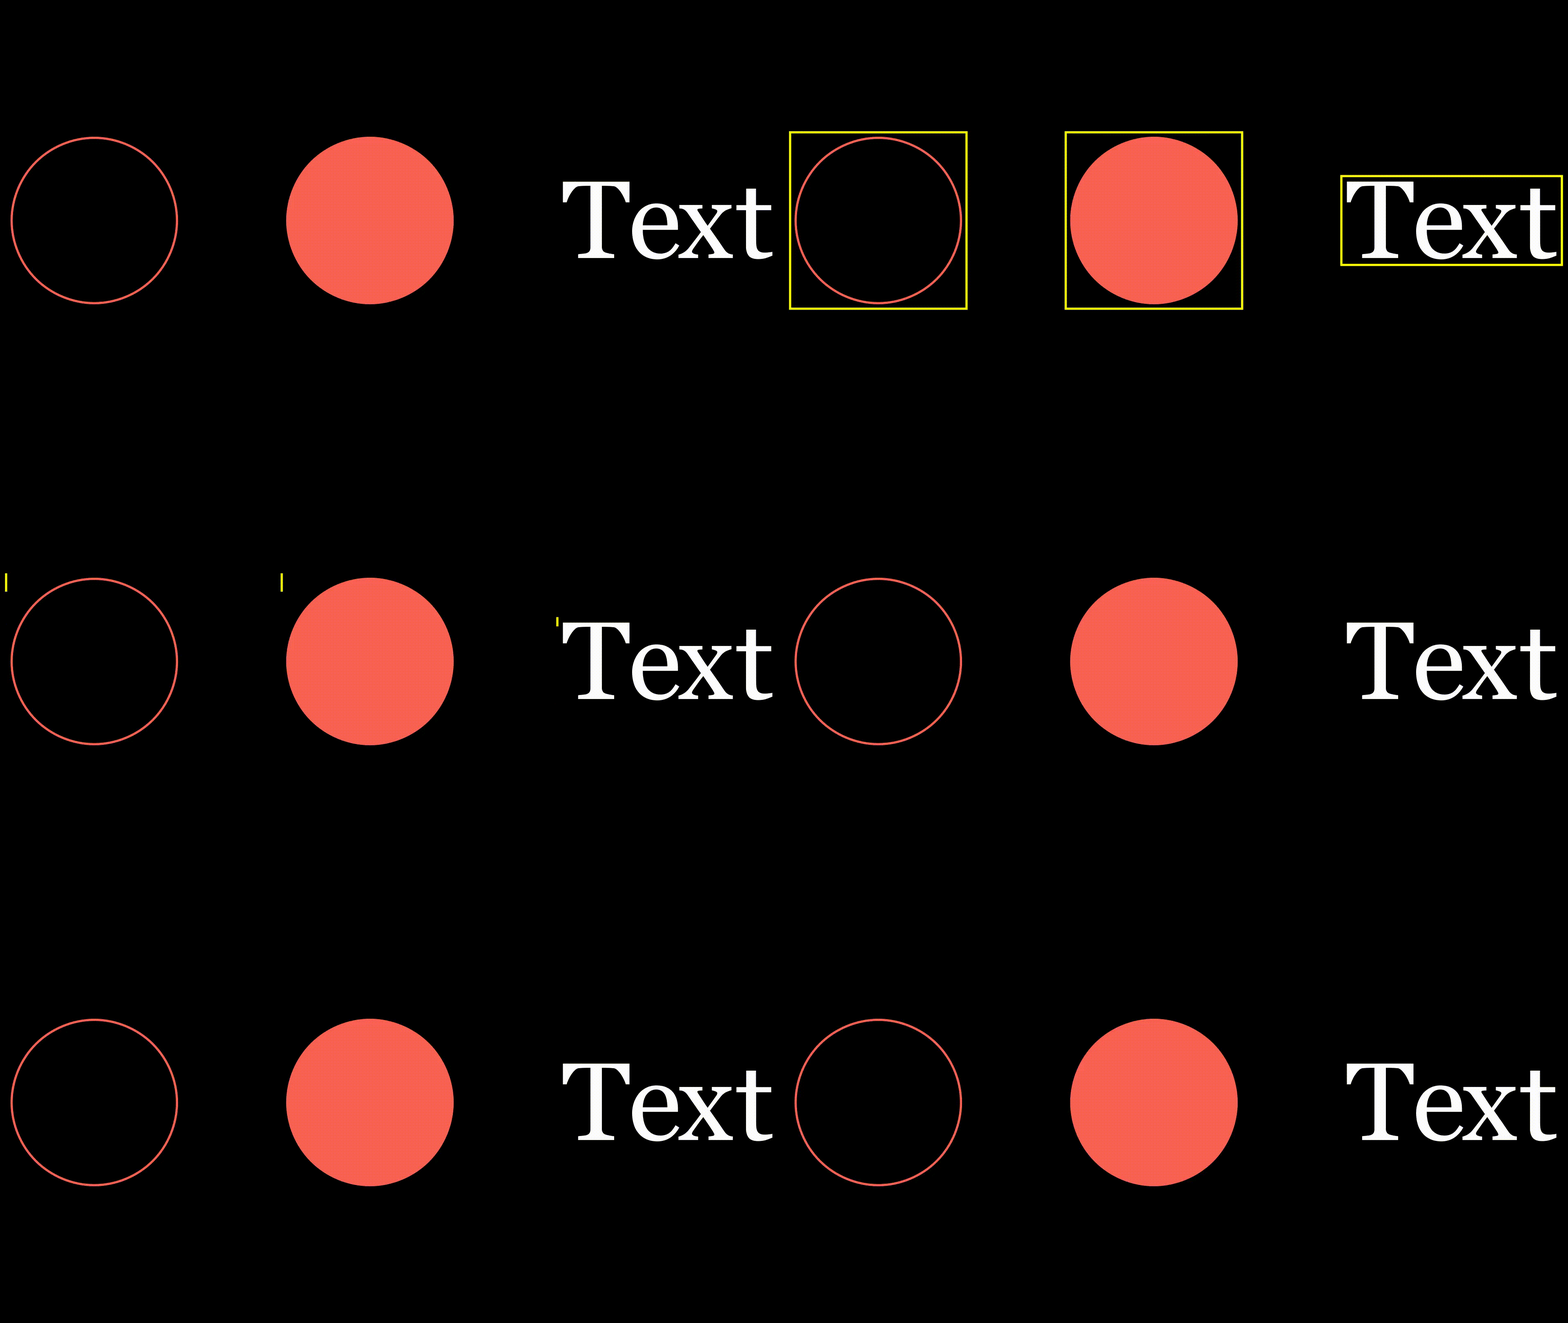
    3. VGroup内对齐,使用group.arrange(DOWN, aligned_edge=LEFT)使VGroup中的子元素依次向下排开,并左对齐